How to set up PPTP/L2TP VPN on Windows Server 2019
Virtual Private Network (VPN) secures your network by providing a secure connection tunnel. You can also use VPN services to access the public network through a secure VPN network to avoid exposing your public network information. We will learn how to set up a PPTP/L2TP VPN on Windows Server 2019.
Install Routing & Remote Access Server Role
In this section, we will walk through the steps to install routing and remote access to allow direct access from the remote devices on the Windows server.
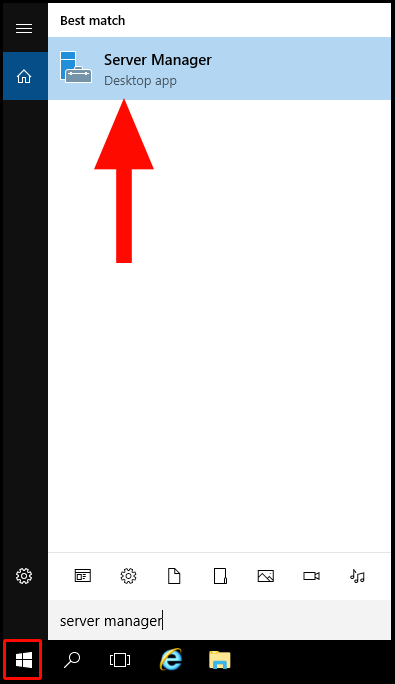
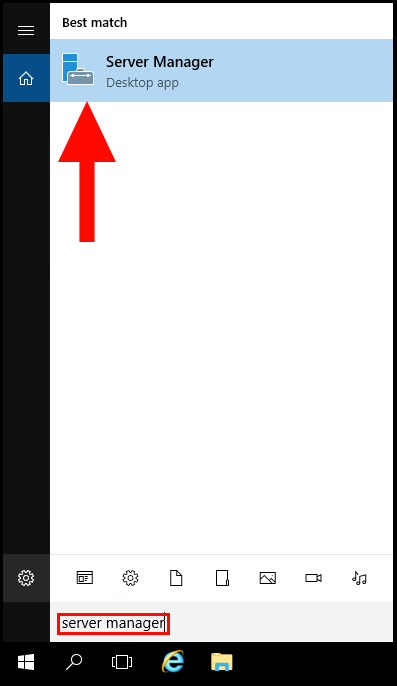
1. To start, log in to your Windows Server and navigate to the search by pressing the Windows button in the bottom left corner. Then search Server Manager and select the application, Server Manager.
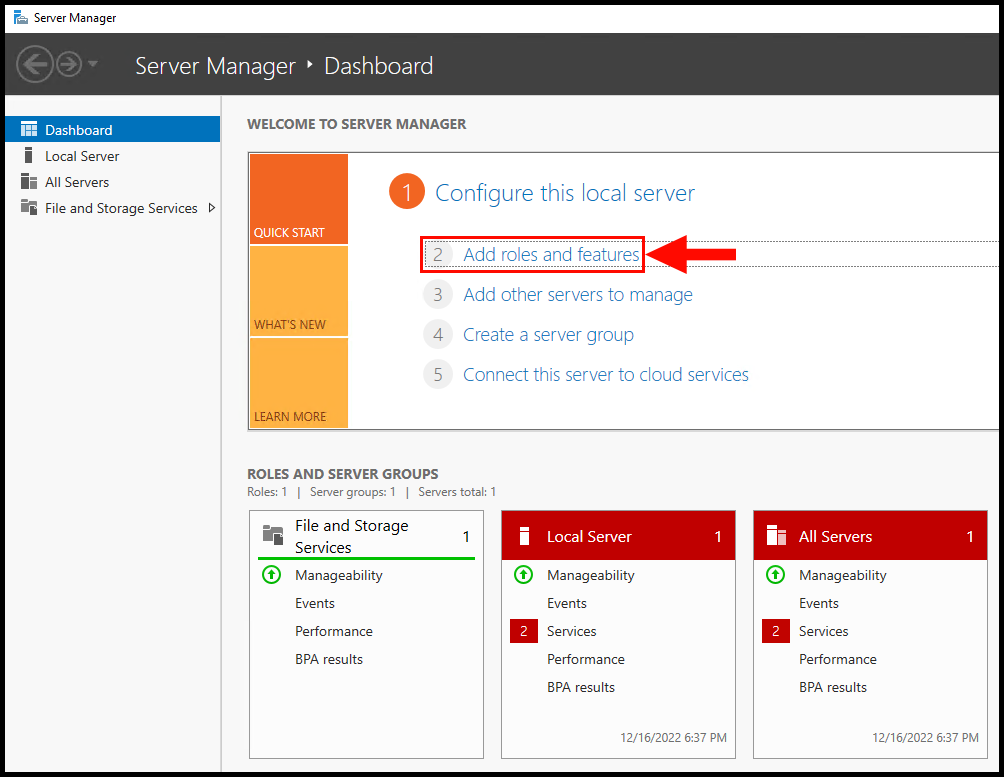
2. Once the Server Manager window is open, click on Add Roles and Features.
3. Then, the Add Roles and Features Wizard screen will appear. Click Next to move on from the Before You Begin tab.

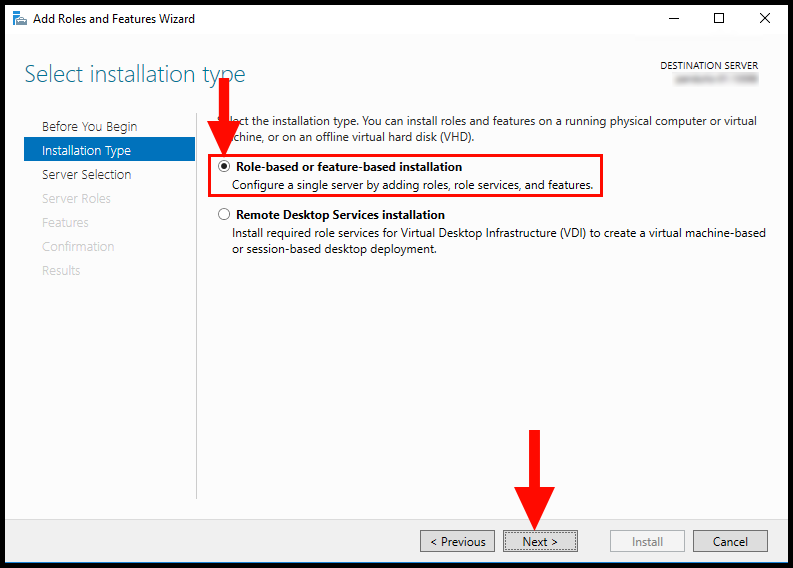
4. Next, in the Installation Type tab, select Role-based or feature-based installation. Then, click Next to continue.
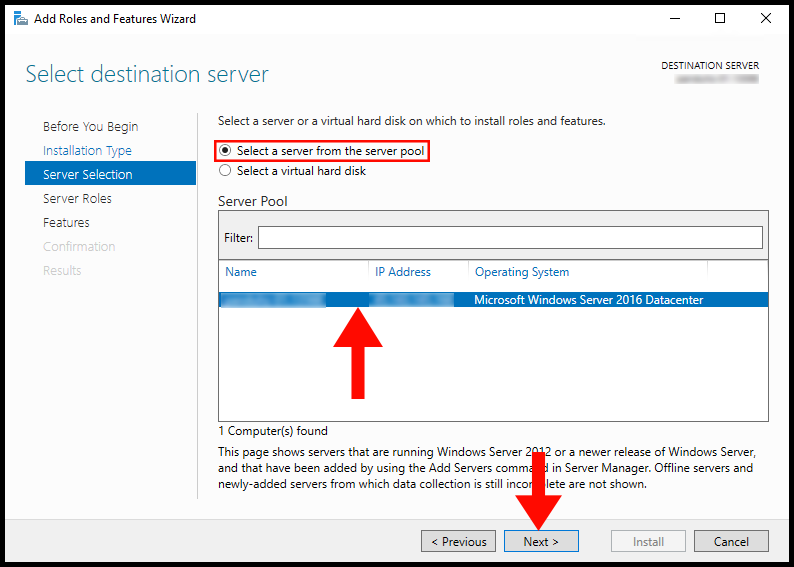
5. Now in the Server Selection tab, select your Windows Server and then click Next to continue.
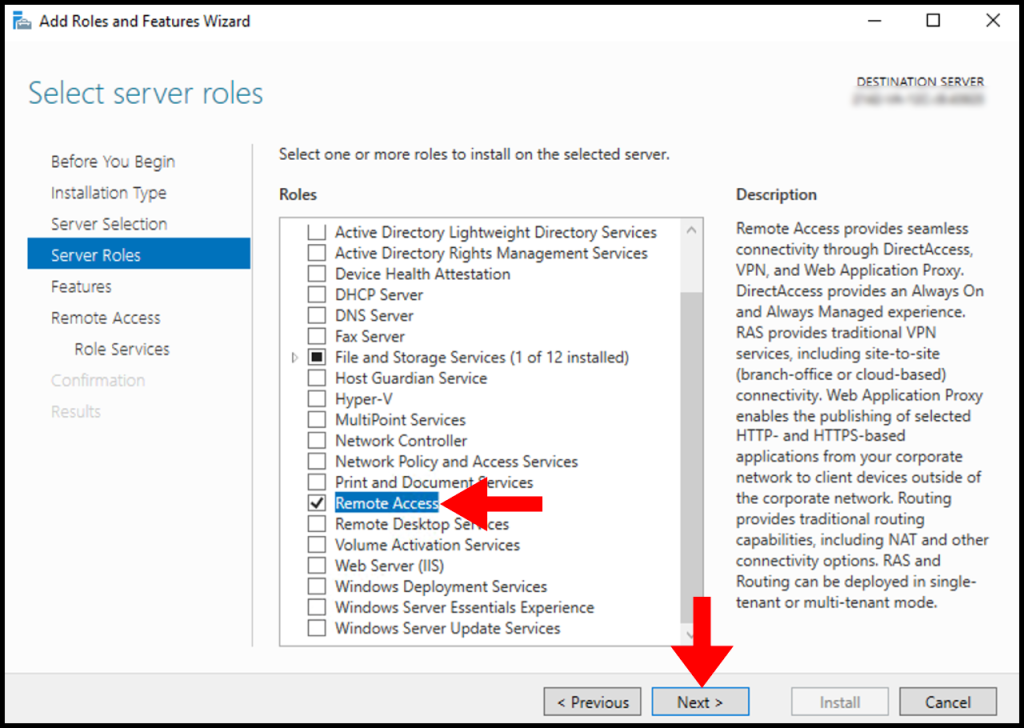
6. In the Server Roles tab, select Remote Access. Then, click on Next to continue setting up Remote Access.
7. On the Features tab, refrain from making any modifications, then click Next to proceed.
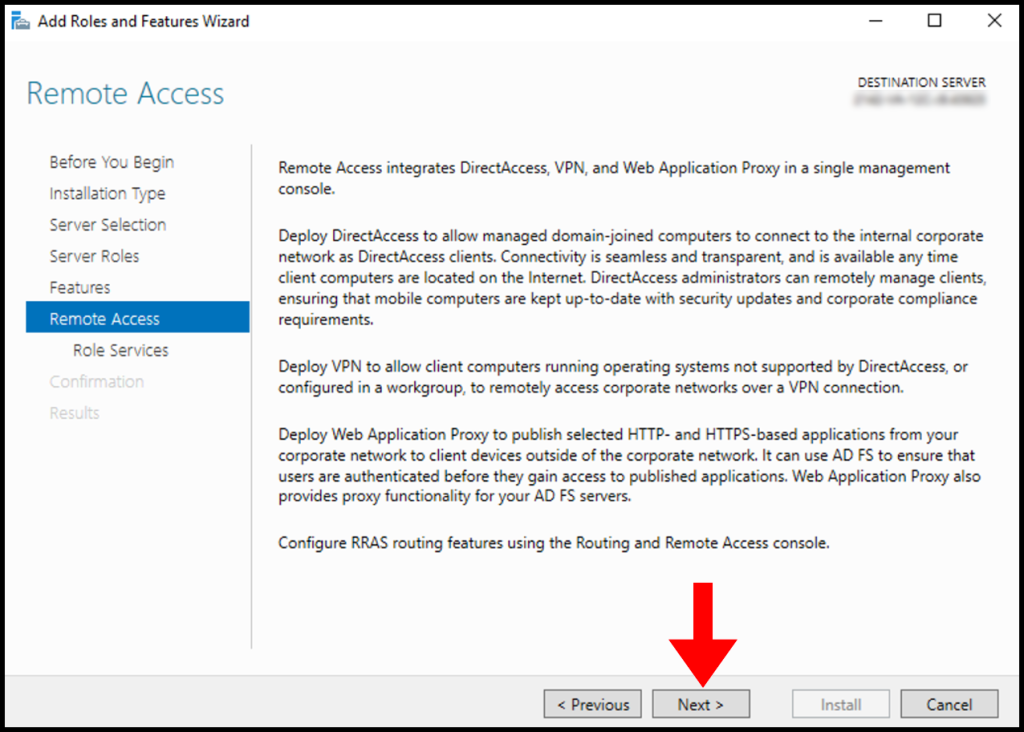
8. In the Remote Access tab, click on Next to move on with setting up Remote Access.
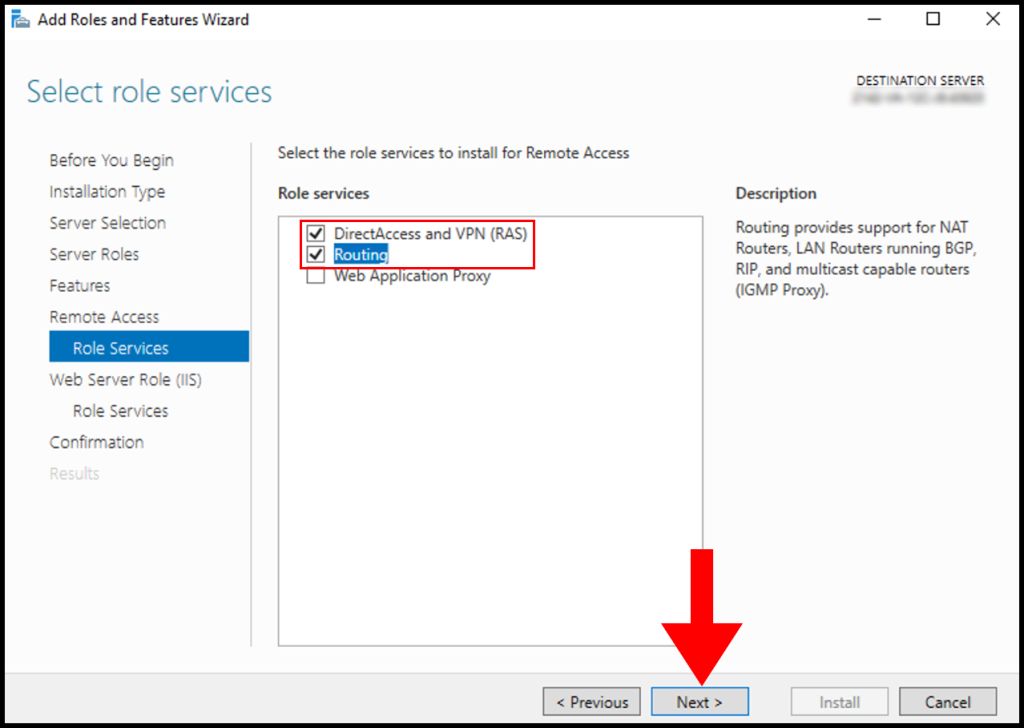
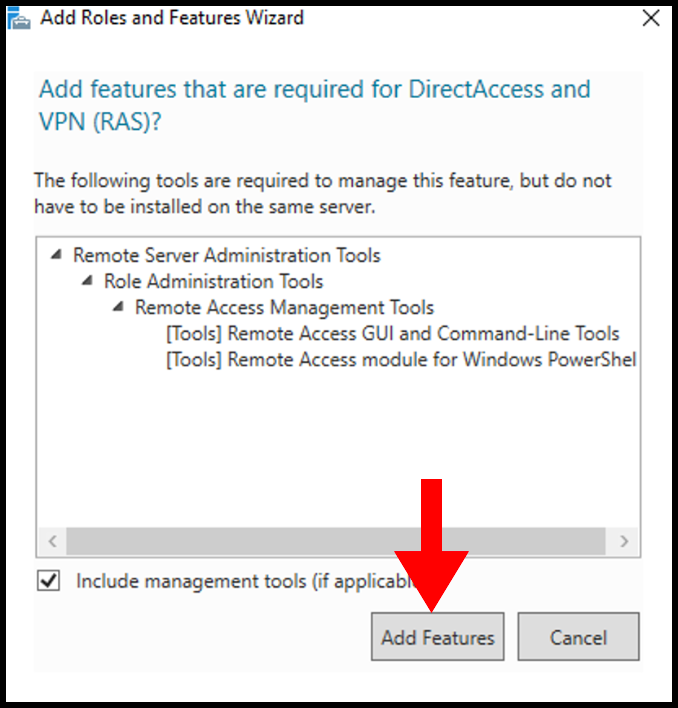
9. Next, in the Role Services tab, select DirectAccess & VPN (RAS) and Routing, then click on Next.
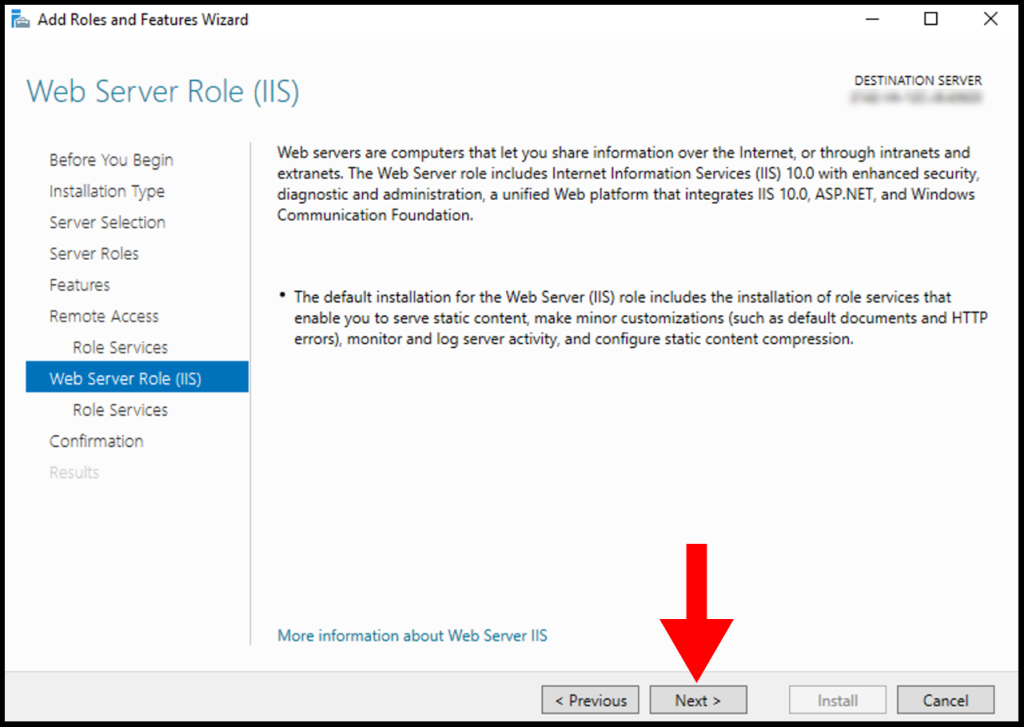
9. Then, skip the Web Server Role (IIS) tab by clicking on Next.
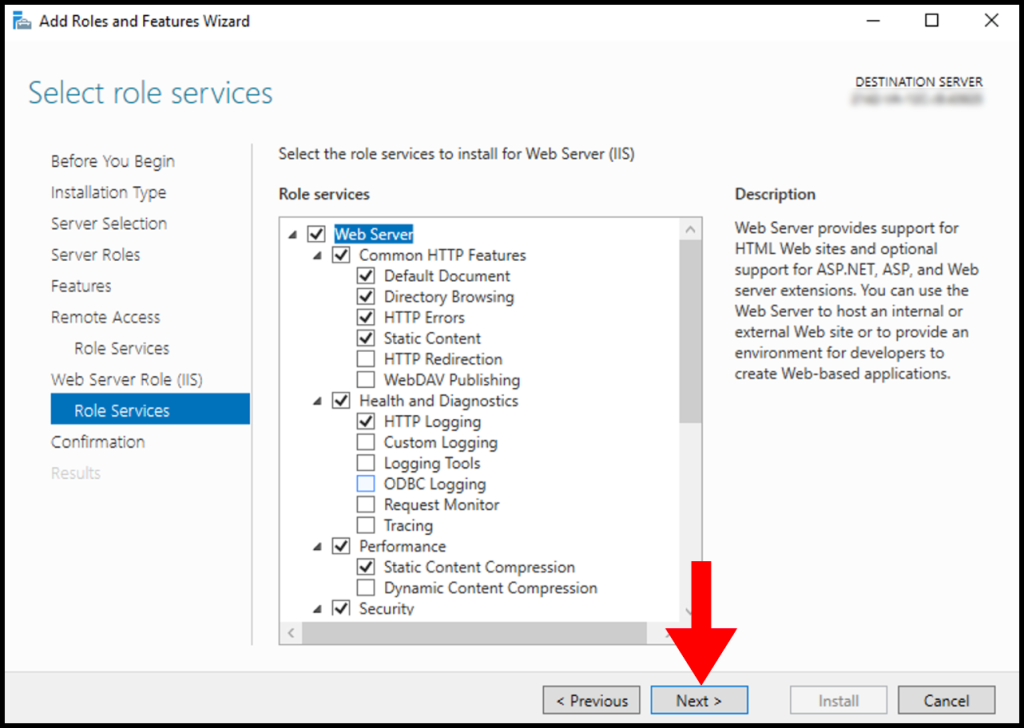
10. In the Web Server Role (IIS) Role Services section, leave everything as default and then click on Next.
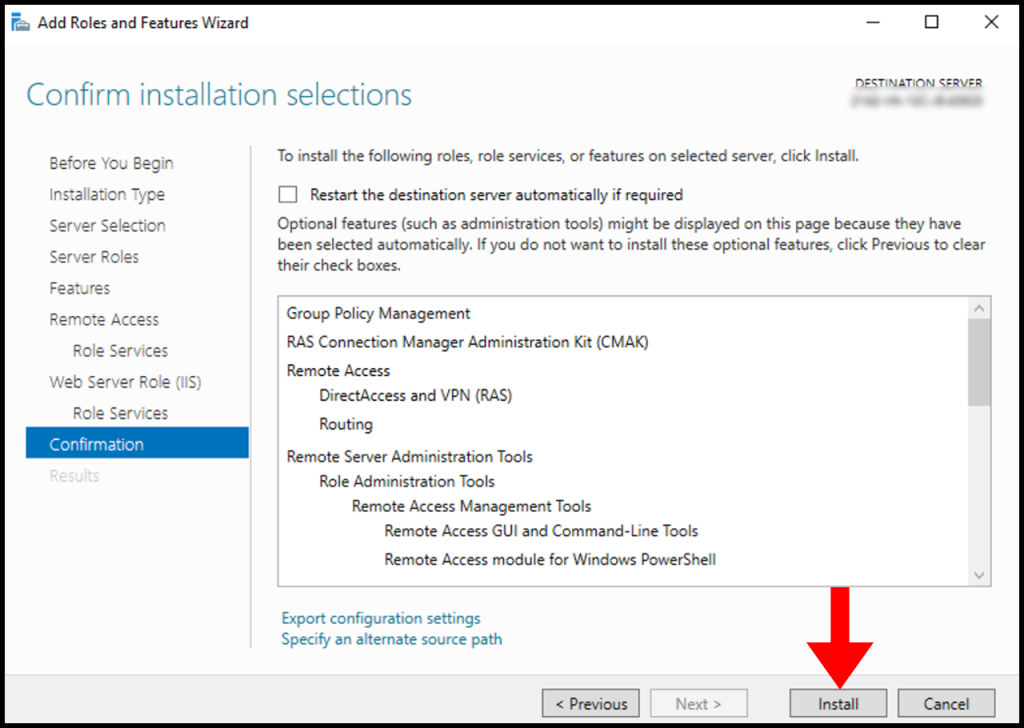
11. In the Confirmation screen, you will see the summary of components that will be installed on the Windows server. Finally, click on Install.
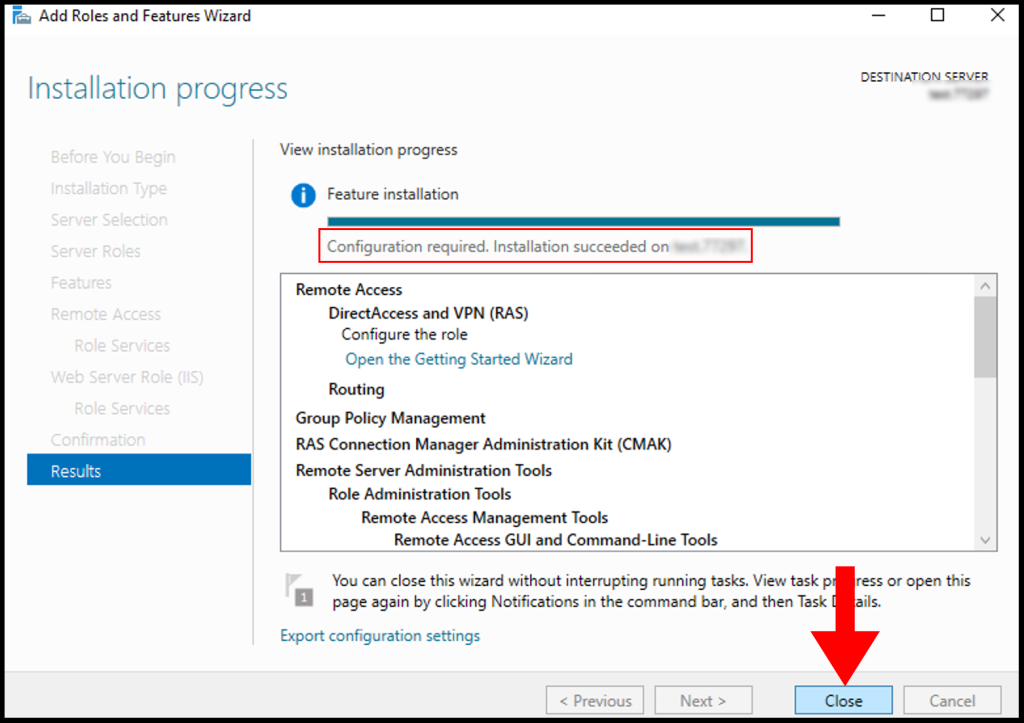
12. Once the installation is complete, you may close the window by clicking on Close.
Add Loopback Network Adapter to Windows Server
In this section, we will be adding a Loopback Network Adapter to the Windows server to avoid the error message as shown below.
1. To start, open Server Manager by using Windows search and searching for Server Manager.
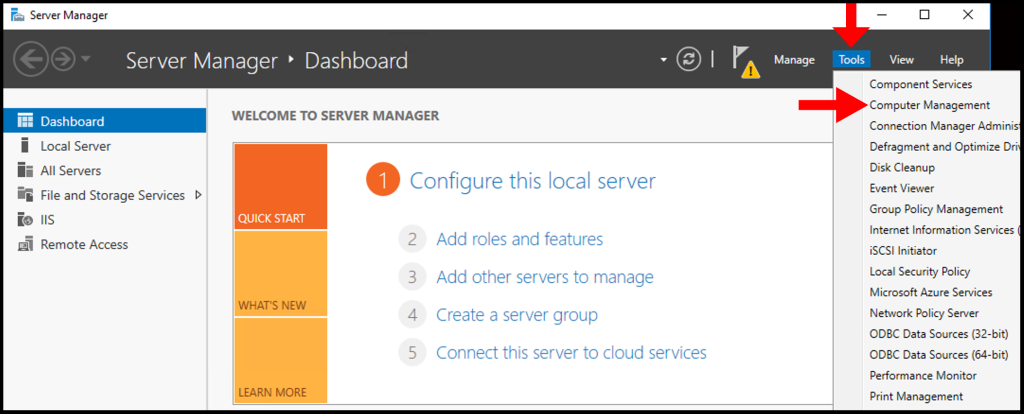
2. Once the Server Manager window is open, click on Tools in the top right-hand corner. From the drop-down menu, click Computer Management.
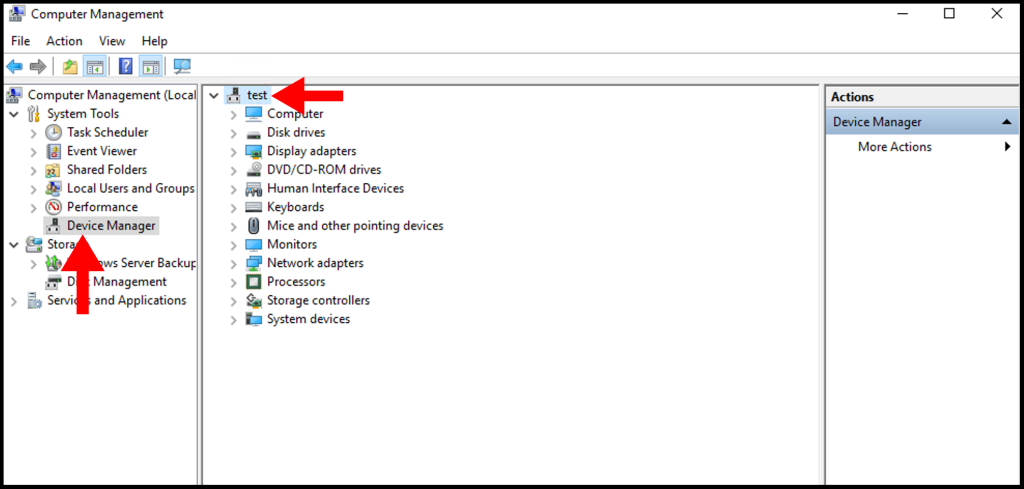
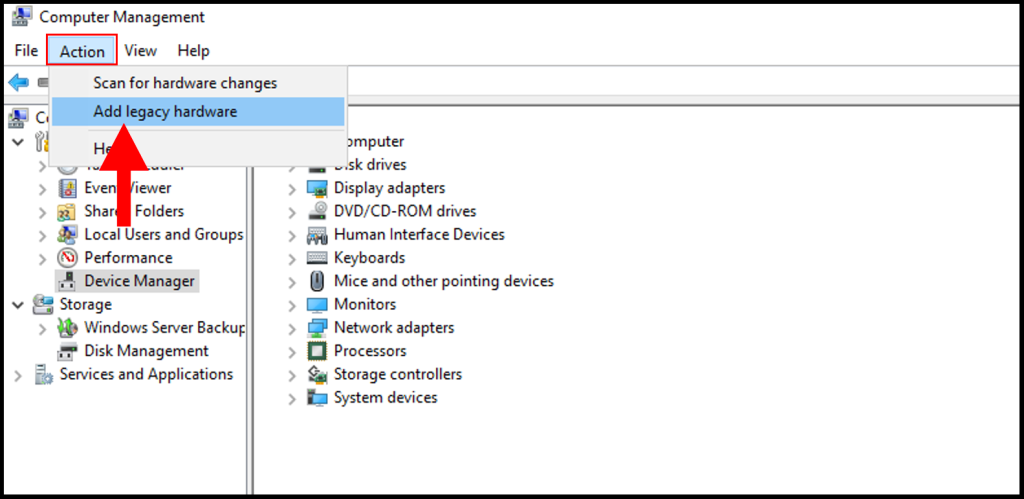
3. Then in the Computer Manager window, click on Device Manager from the left-hand menu, and in the middle menu make sure your VM menu is expanded as seen below.
4. Then, in the top left-hand corner click Action, and a drop-down menu will appear. From the drop-down menu, select Add legacy hardware.
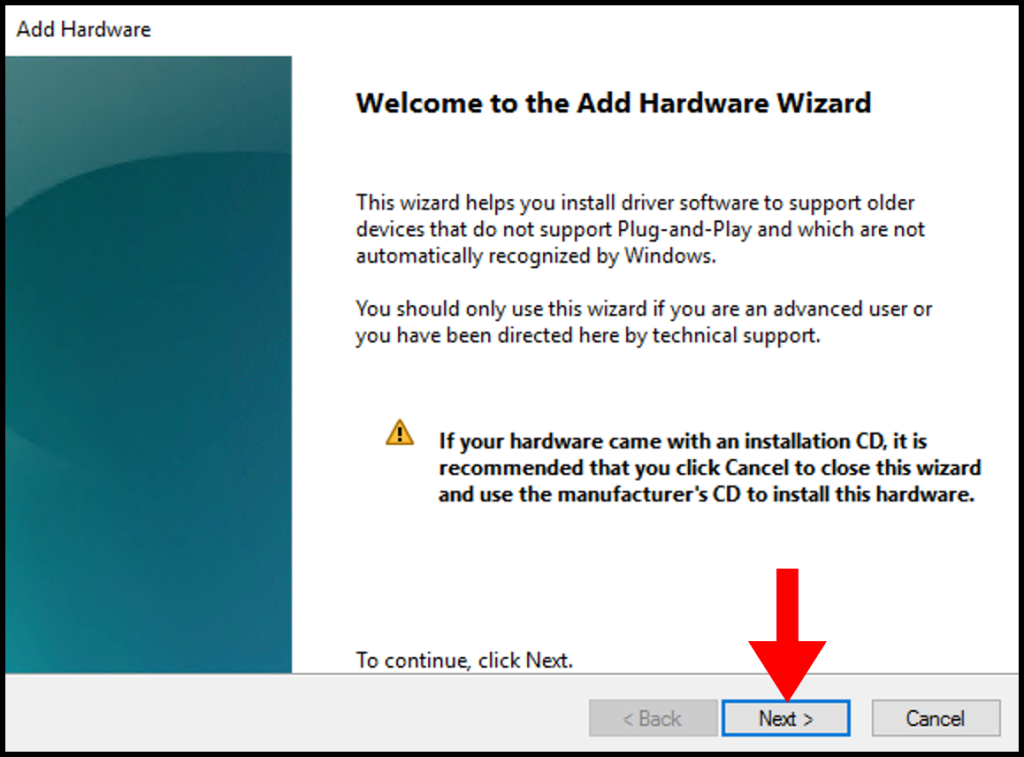
5. Once the Add Hardware window appears, click Next to continue.
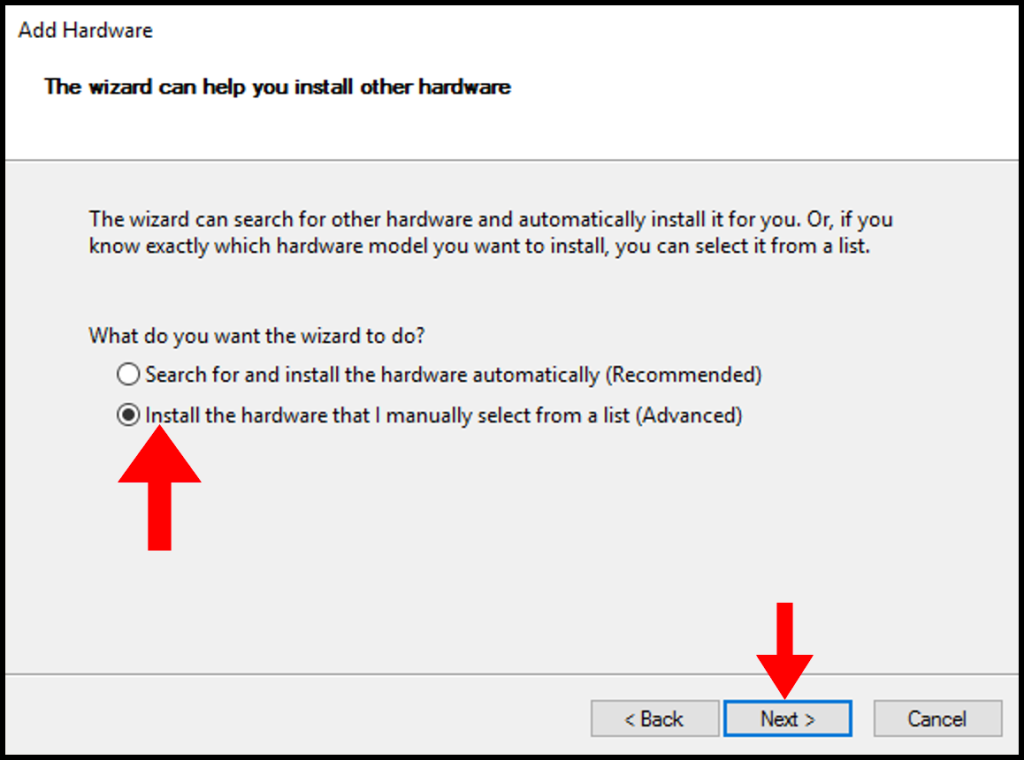
6. Next, click on the Install the hardware that I manually select from a list (Advanced) button. Then, click the Next button.
7. In the next screen, utilize the scroll function to locate and select Network adapters. Afterward, click Next to move on.

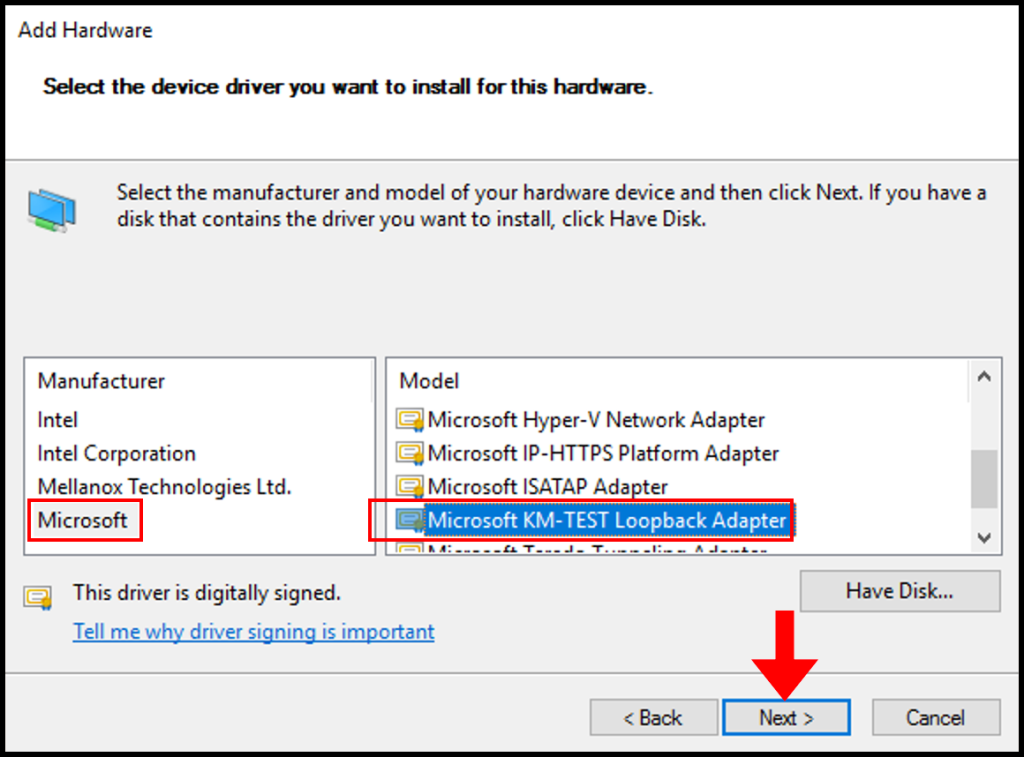
8. In the next screen, under the Manufacturer options select Microsoft, and under the Model options select Microsoft KM-TEST Loopback Adapter. Click Next to move on.
9. The next page is a confirmation of the hardware that we will be installing, click Next to continue.

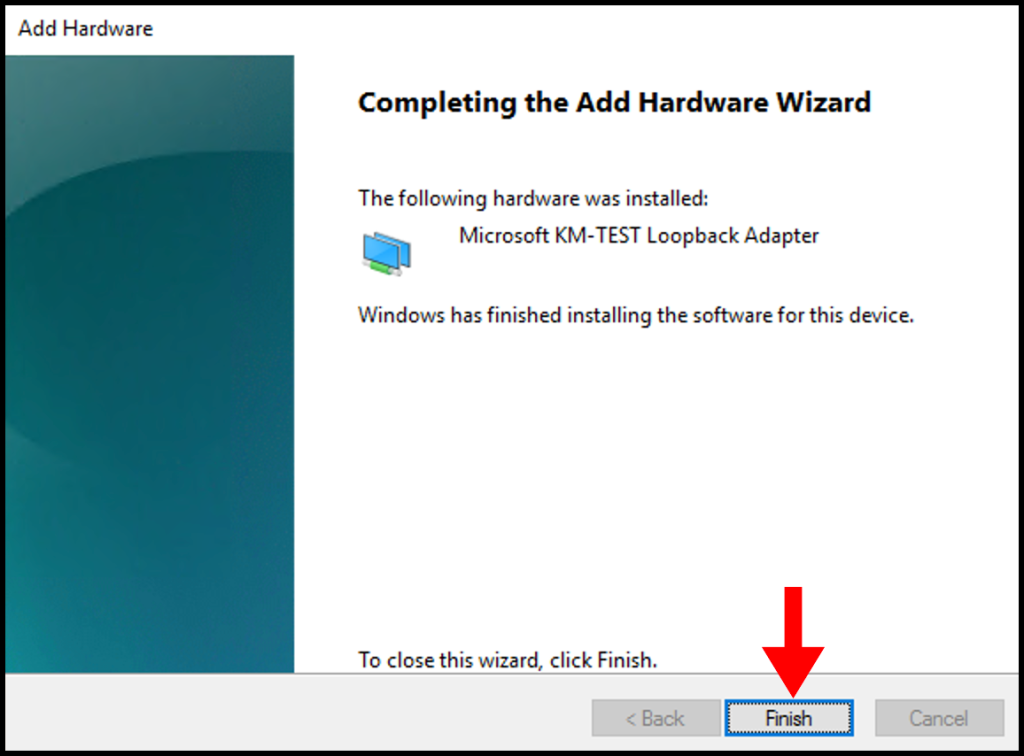
10. After the installation is complete, click Finish to close the wizard.
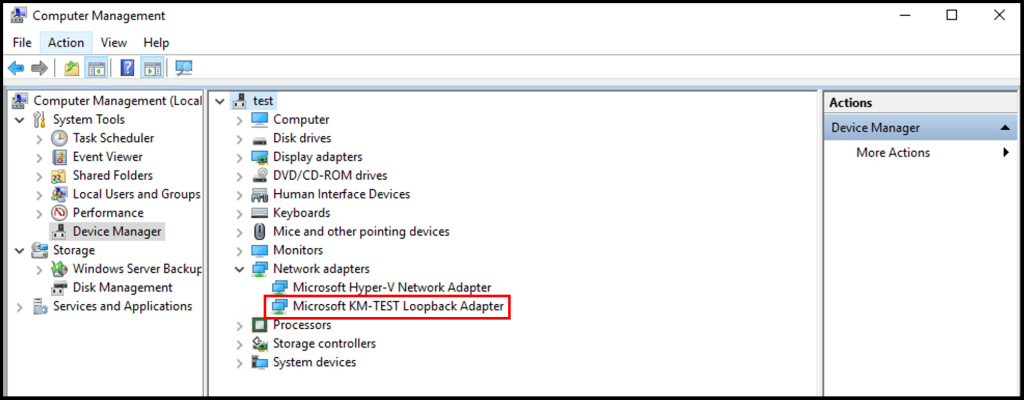
11. To confirm the installation was successful, we can see it in the Computer Management window and check under Network Adapters.
Configure Remote Access Service on Windows Server
In this section, we will be going over how to configure the Remote Access Service on your Windows Server to set up a PPTP/L2TP VPN on a Windows Server
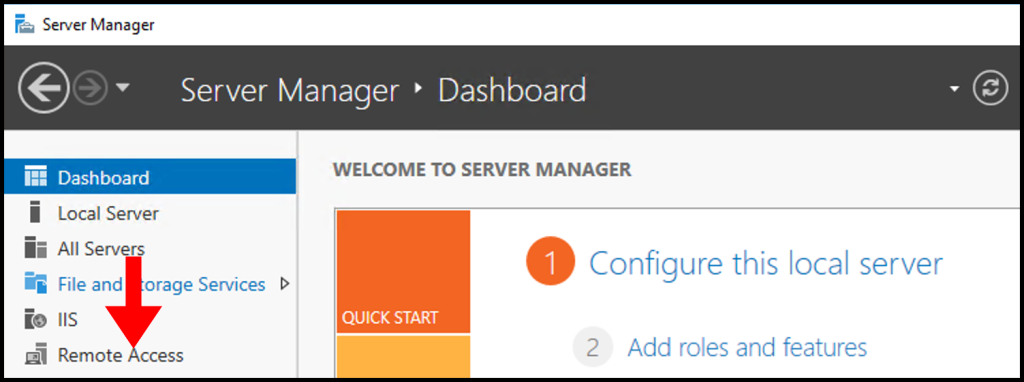
1. To start, in the Server Manager Window select Remote Access.
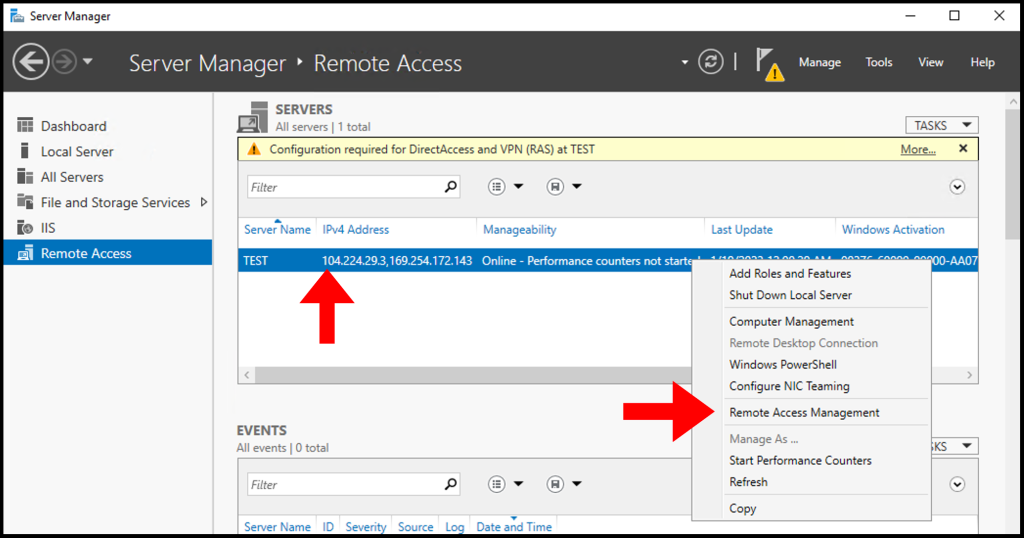
2. Next, right-click your Server Name and from the menu select Remote Access Management.
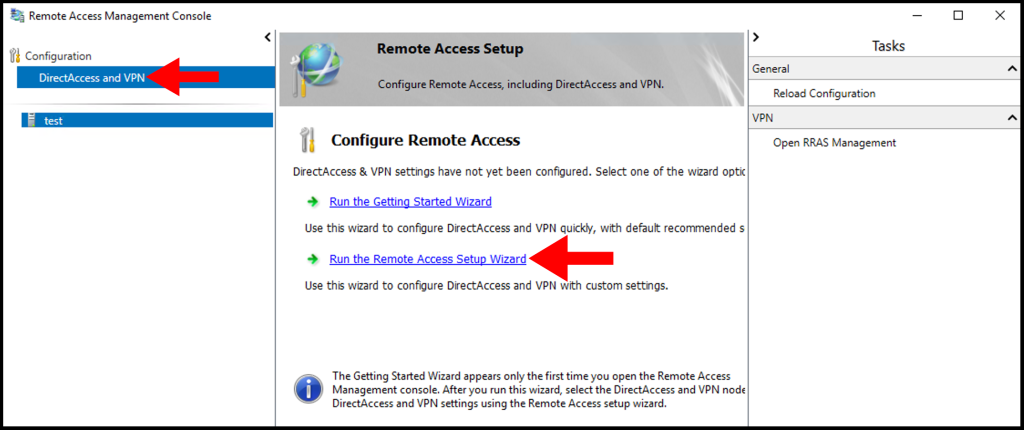
3. Once the Remote Access Management Console window opens, select DirectAccess and VPN from the menu on the left-hand side. Then, select Run the Remote Access Setup Wizard under Configure Remote Access.
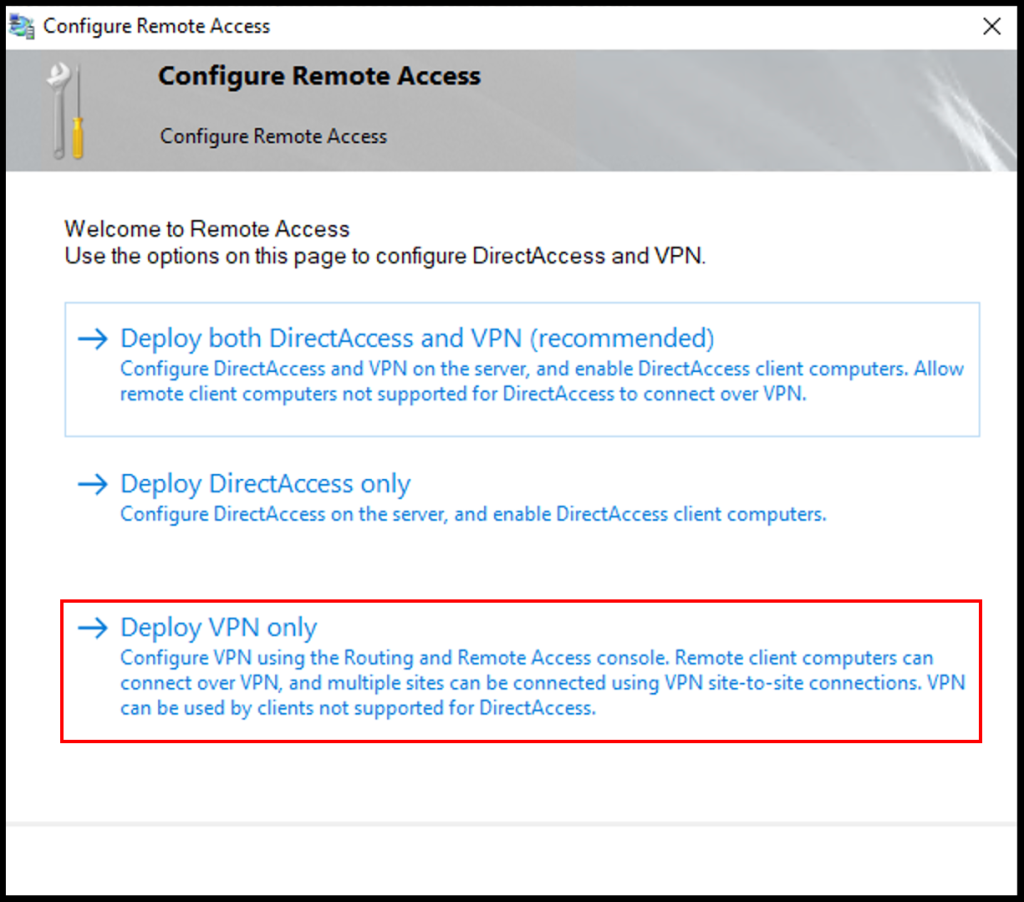
4. Next, the Configure Remote Access window will open. Then, click Deploy VPN only.
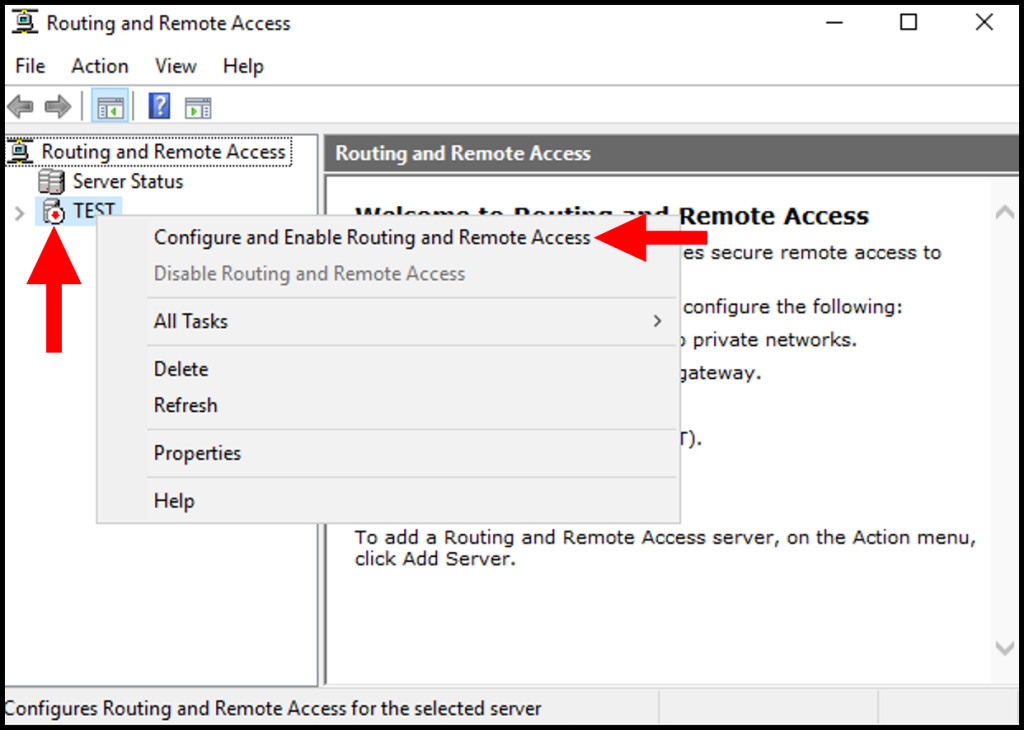
5. The Routing and Remote Access window will appear, right-click your server name and select Configure and Enable Routing and Remote Access from the options listed.
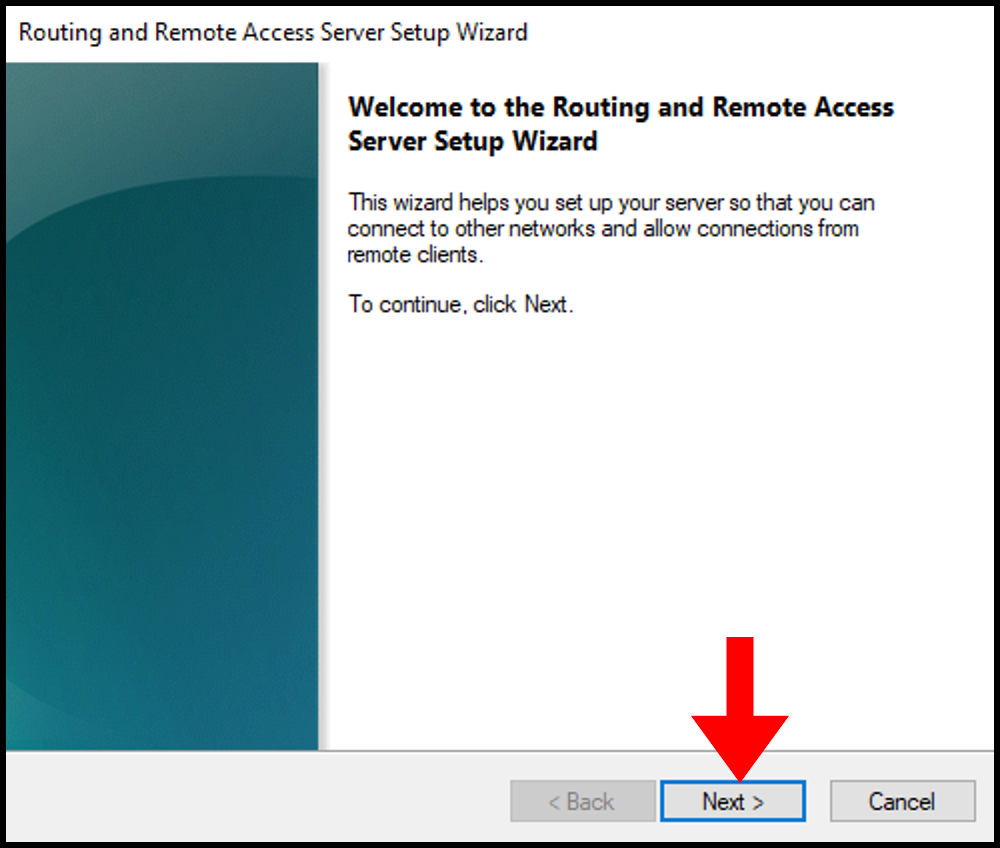
6. Then, the Routing and Remote Access Server Setup Wizard will open. Click Next to move forward.
7. On the next page, select Virtual private network (VPN) access and NAT from the presented options and click Next once done.

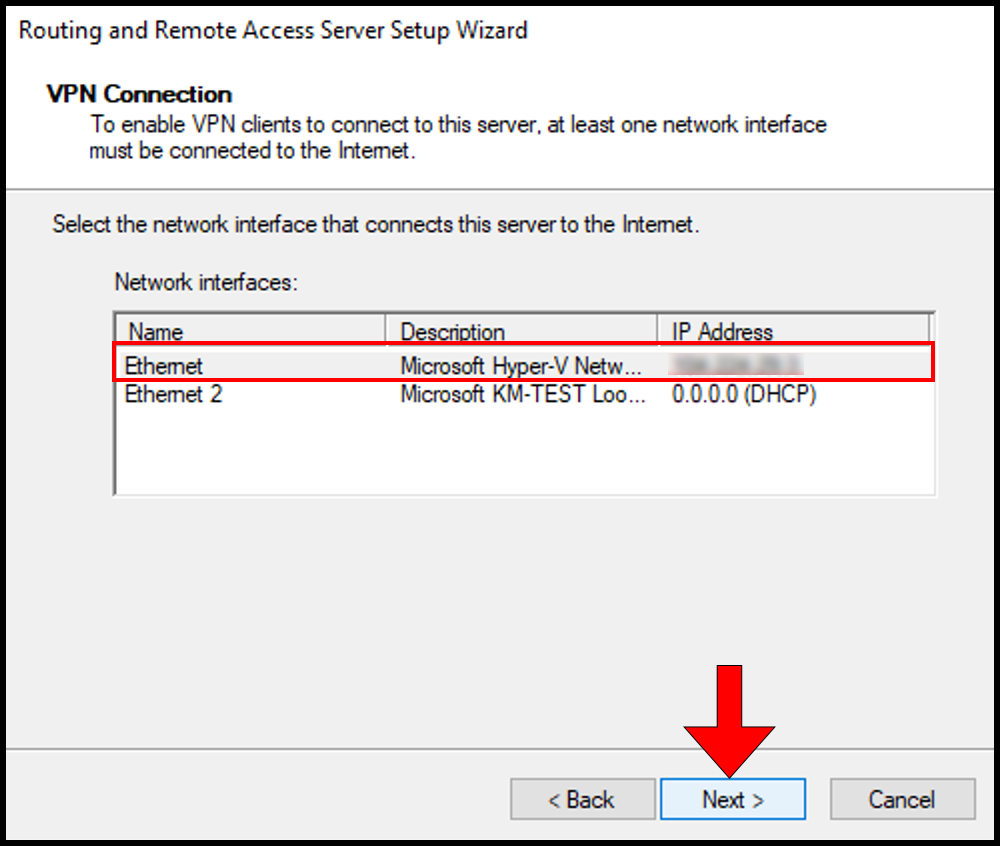
8. Then, on the VPN Connection page select the Network interface where the server’s public IP is configured. In this case, we will be selecting Ethernet. Once you have selected your network interface, click Next to move on.
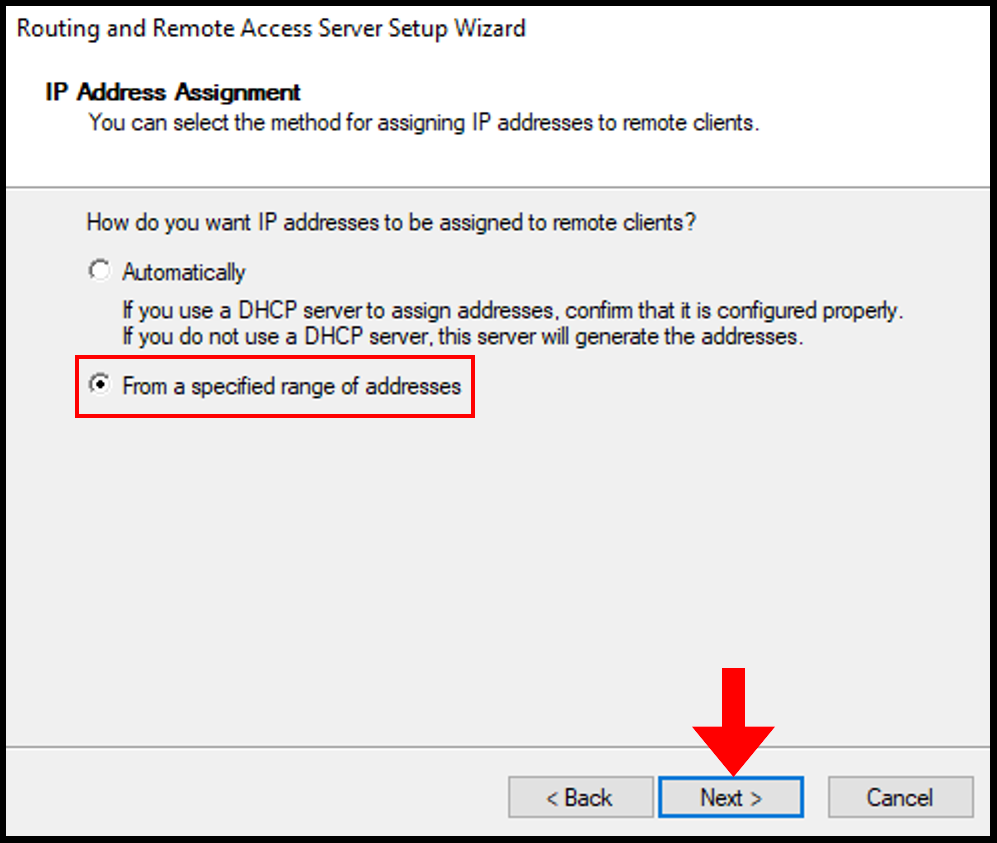
9. Next, on the IP Address Assignment page we will select From a specified range of addresses. Then, click Next to continue.
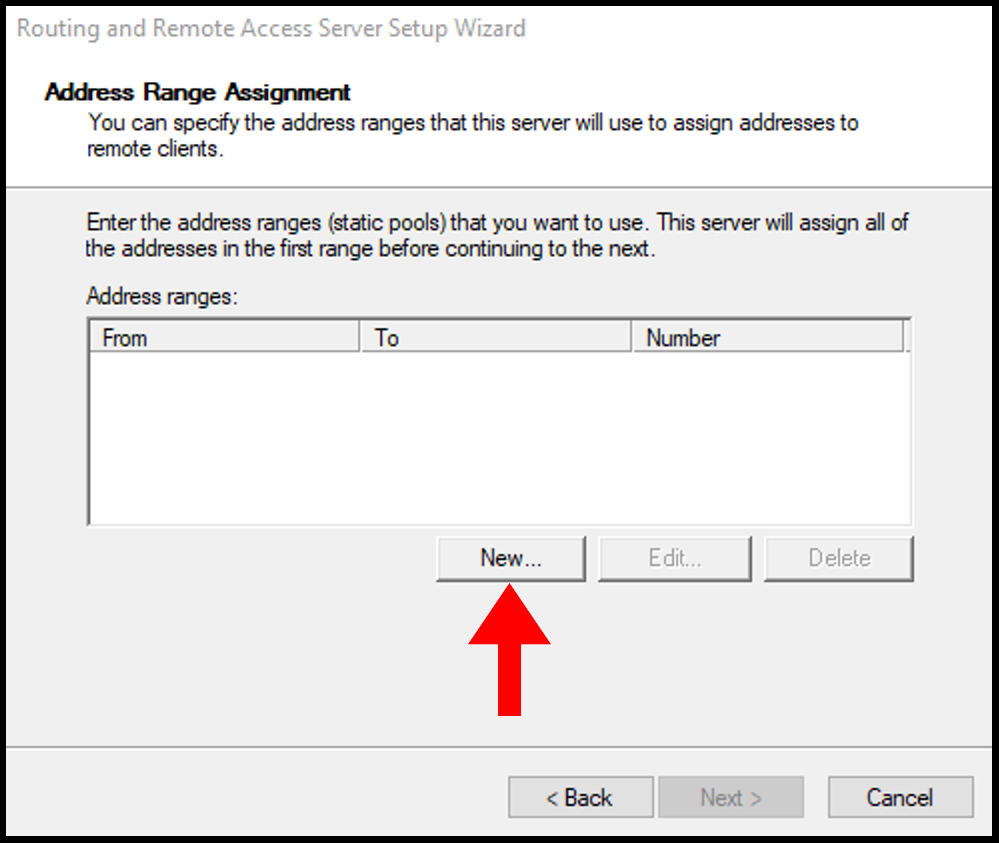
10. In the next screen, select New to define the range of private IP addresses that the server will give to the remote VPN.
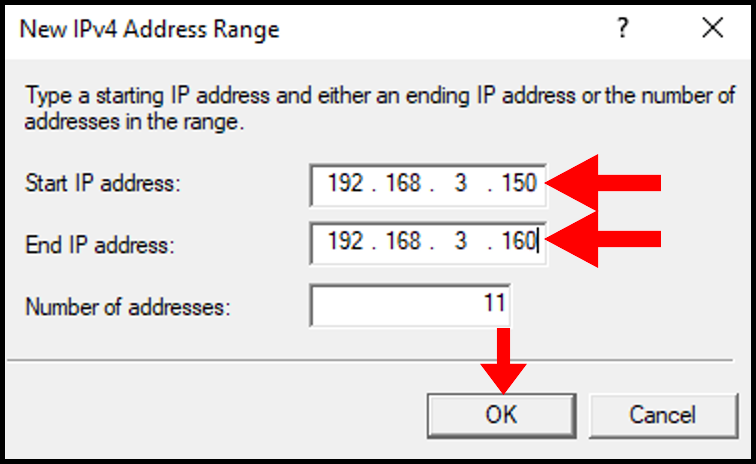
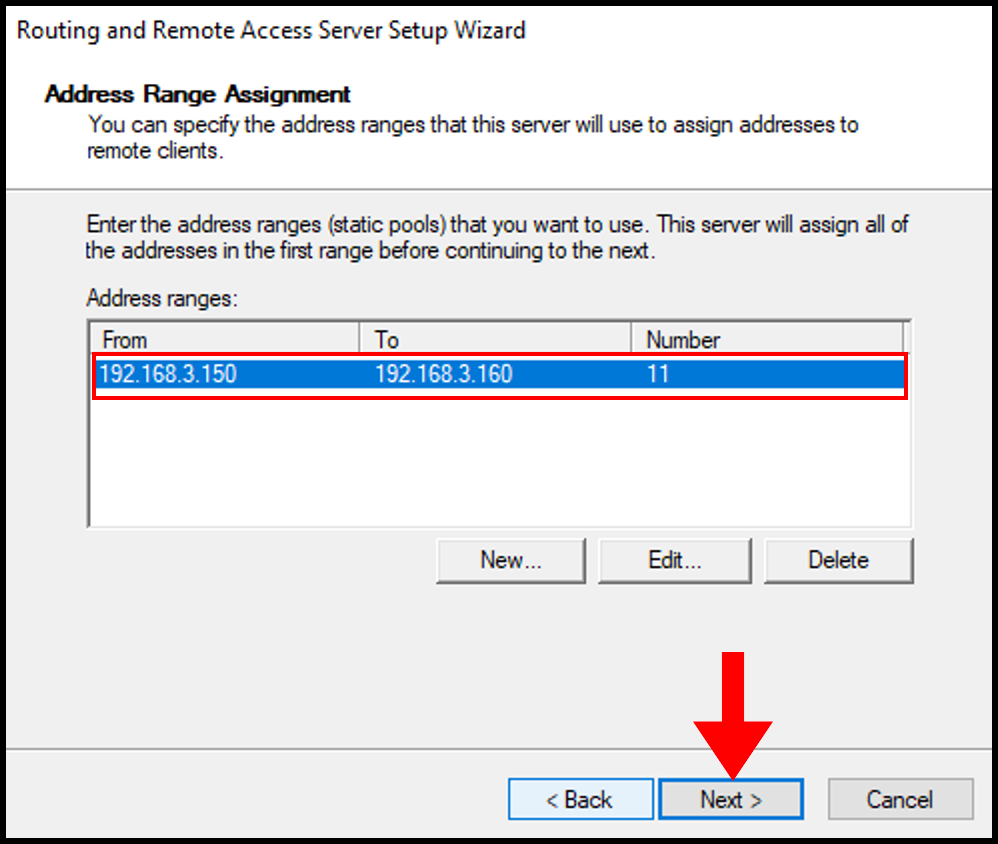
11. In the New IPv4 Address Range, select a range of Internal IP Addresses and input the starting IP address and ending IP address. You can select a range from these lists. Then, click OK to move on.
12. Now, we can see our Address Range populated on the Address Range Assignment page. Then, click Next.
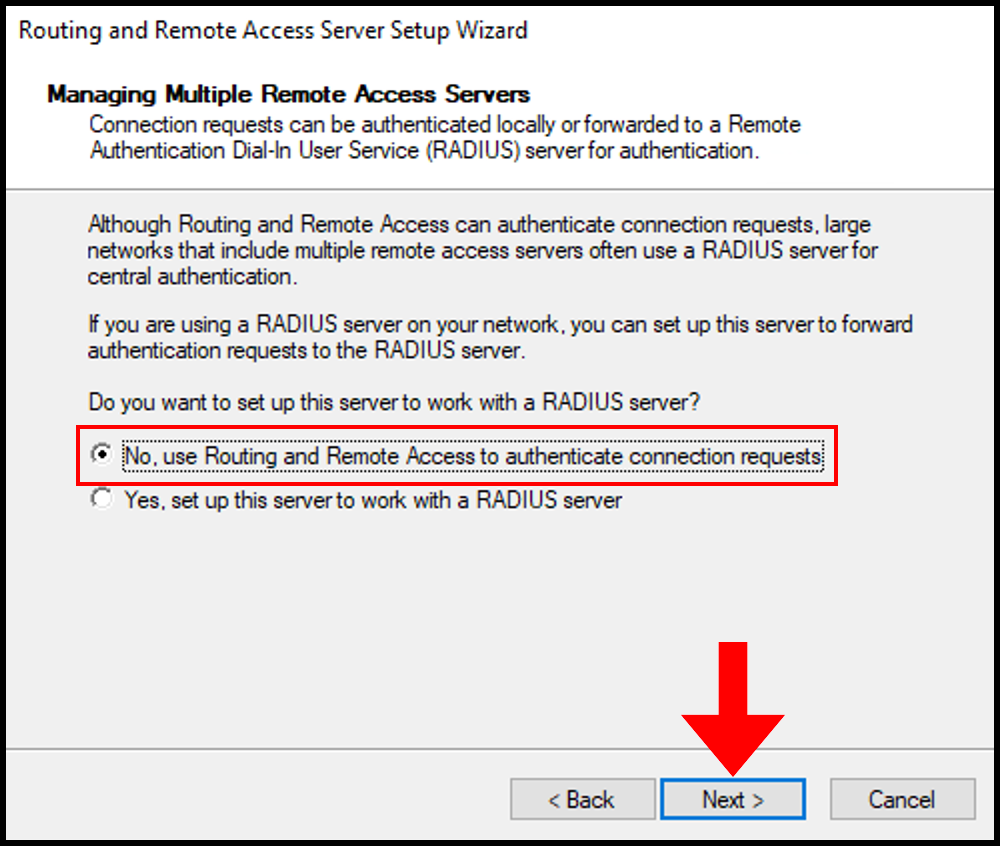
13. On the next page, select No, use Routing and Remote Access to authenticate connection requests since we will not be using a RADIUS server. Click Next to move on.
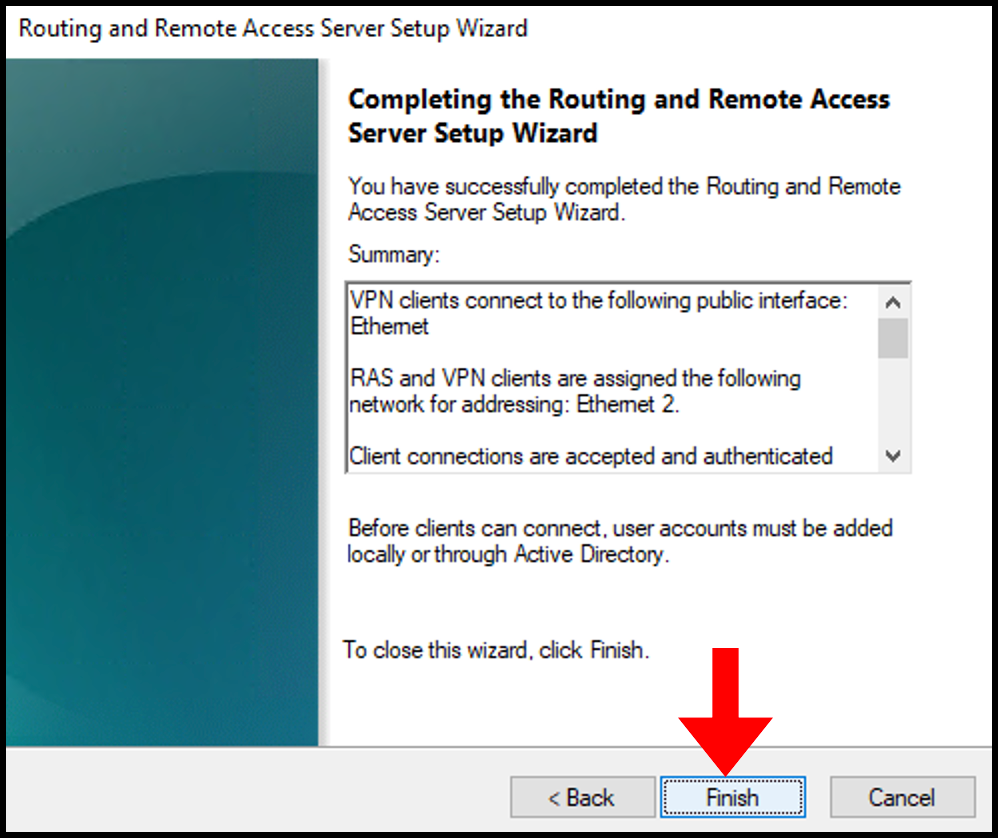
14. On the next page, click Finish to move on.
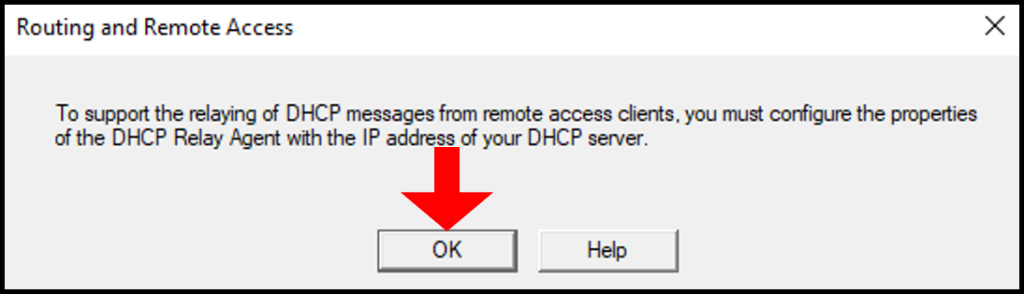
15. A message will be prompted, click OK to close it out. Now you have completed configuring Routing and Remote Access Server Setup Wizard.
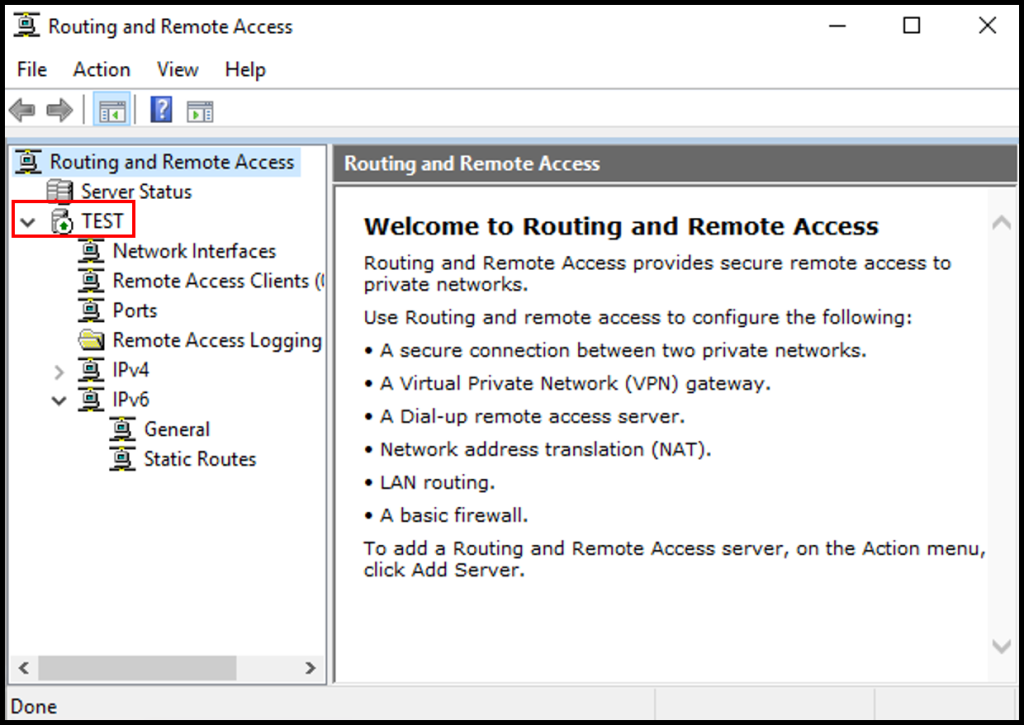
16. To verify that Routing and Remote Access has been configured, you can check via the Routing and Remote Access window we opened earlier in this section. The server name will now have a green up arrow as seen below.
Enable L2TP/IPsec VPN on Windows Server
In this section, we will go over how to enable L2TP/IPsec using a pre-shared key through Routing and Remote Access properties to set up a PPTP/L2TP VPN on a Windows Server.
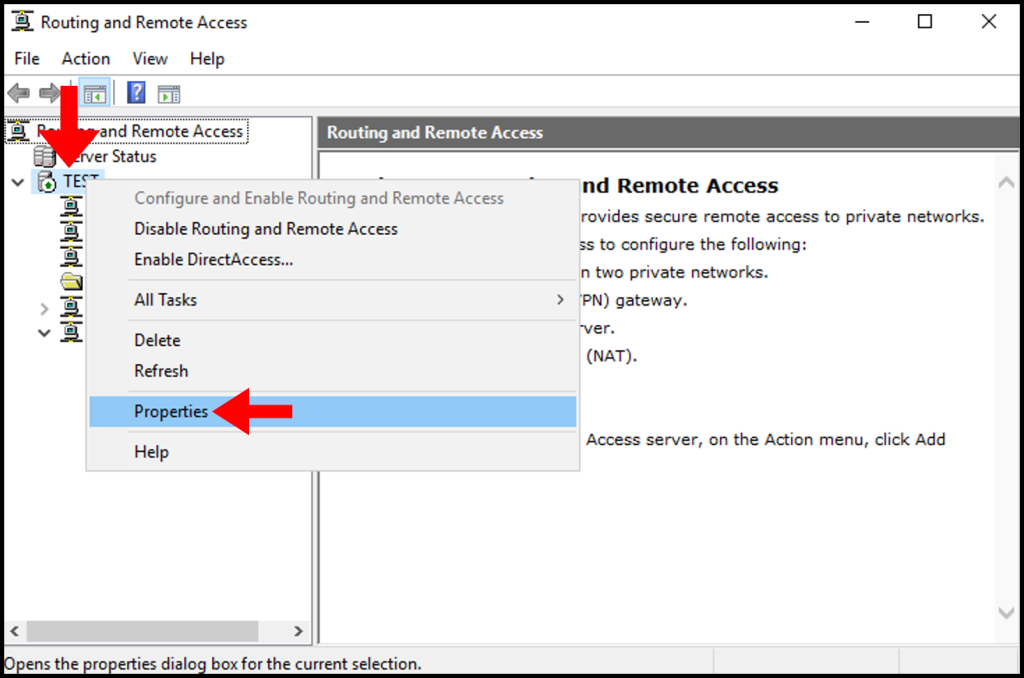
1. In the Routing and Remote Access window we opened in the last section, right-click on your server name in the left-hand menu. Then select Properties from the options presented.
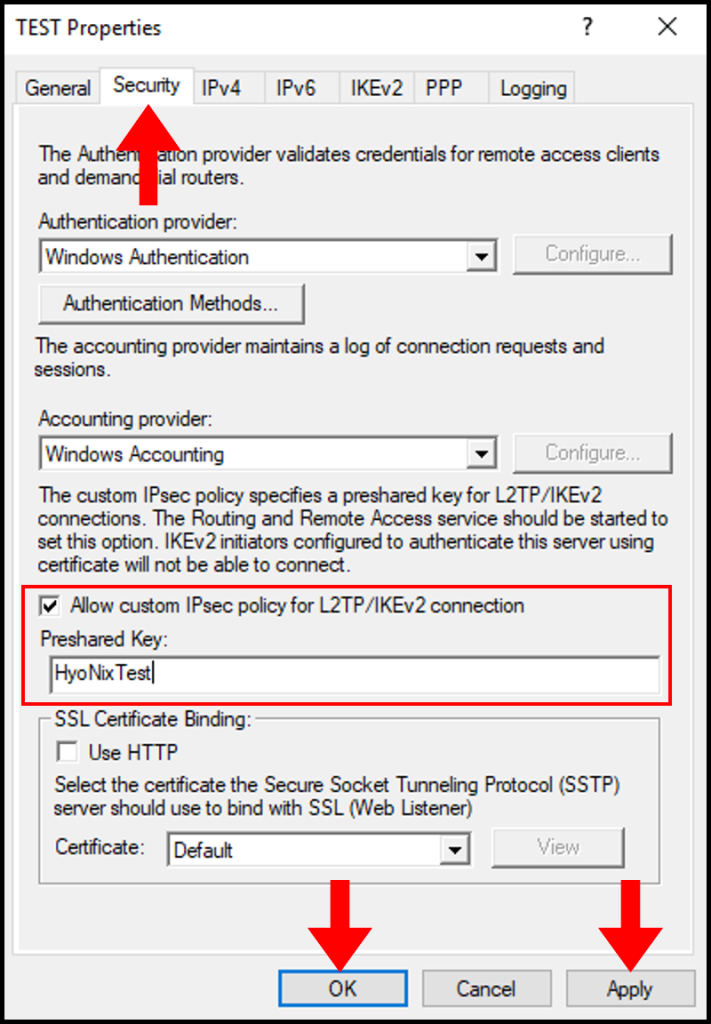
2. In the properties window, check the box for Allow custom IPsec policy for L2TP/IKEv2 connection and enter a made-up key under Preshared Key. Then, click OK and Apply.
3. You will then need to click OK on the pop-up.
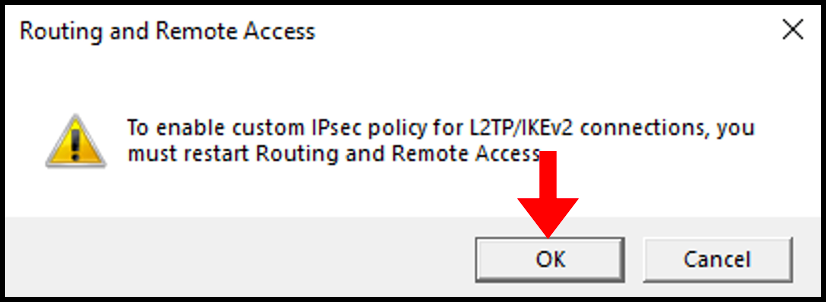
4. Lastly, restart your Windows VPS.

Allow Remote Access to VPN via Public Network Adapter
To be able to use Remote Desktop to access the server and have VPN service running simultaneously, we will need to allow the Remote Access port over a Public Network Adapter.
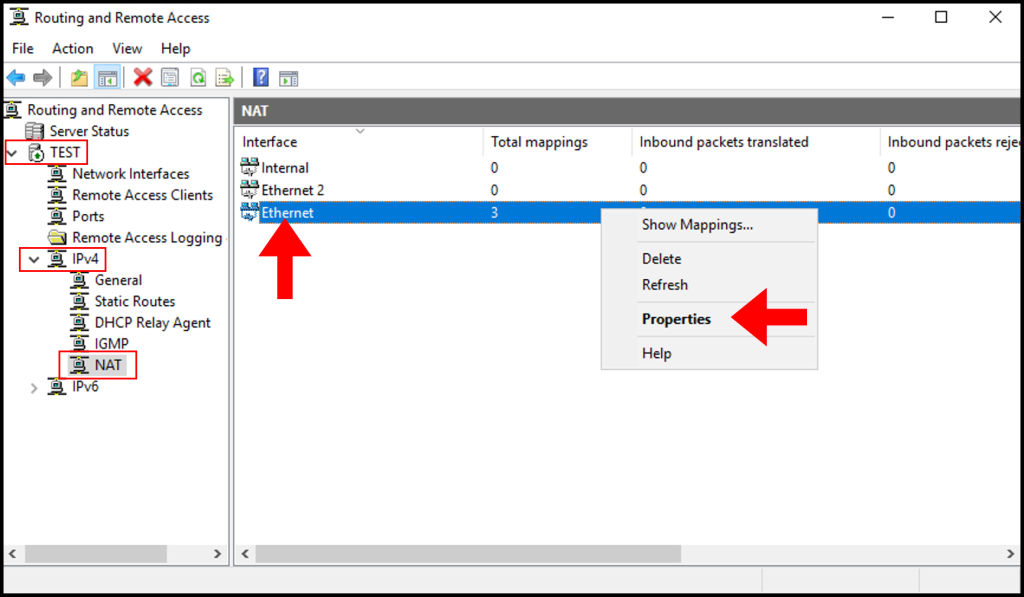
1. In the Routing and Remote Access, expand the server name, IPv4, and Nat from the left-hand side as seen below. In the middle screen, right-click on the Public Network Adapter. Then, select Properties.
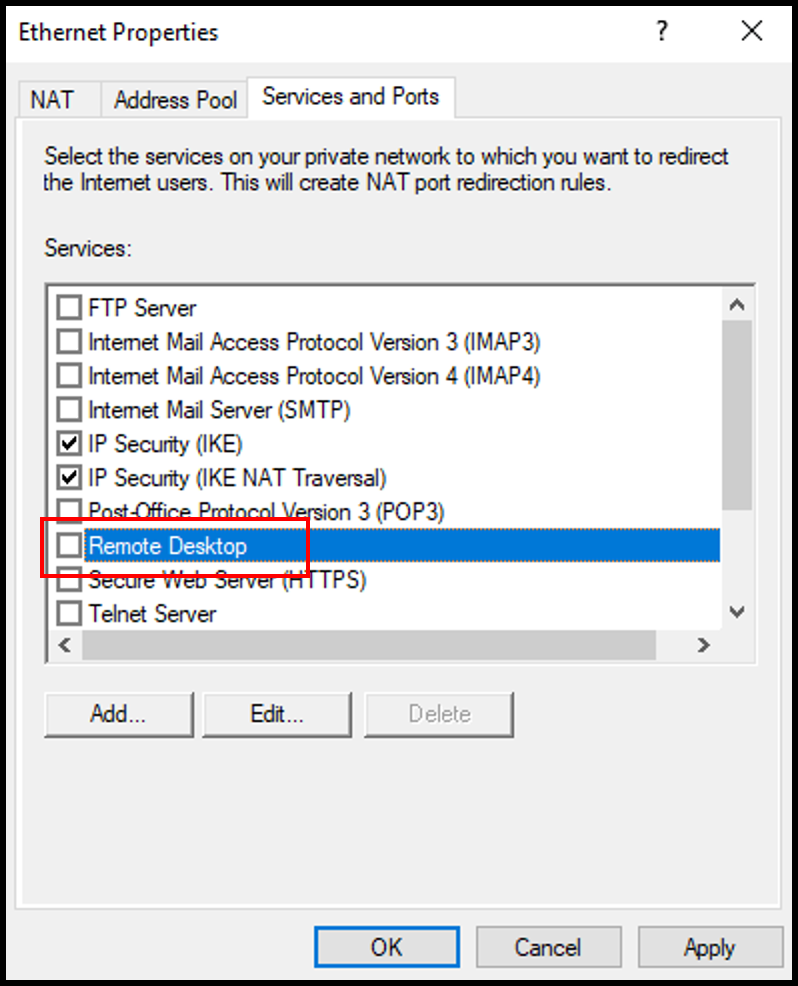
2. In the Ethernet Properties window, navigate to the Services and Ports tab. Then, scroll down and select Remote Desktop.
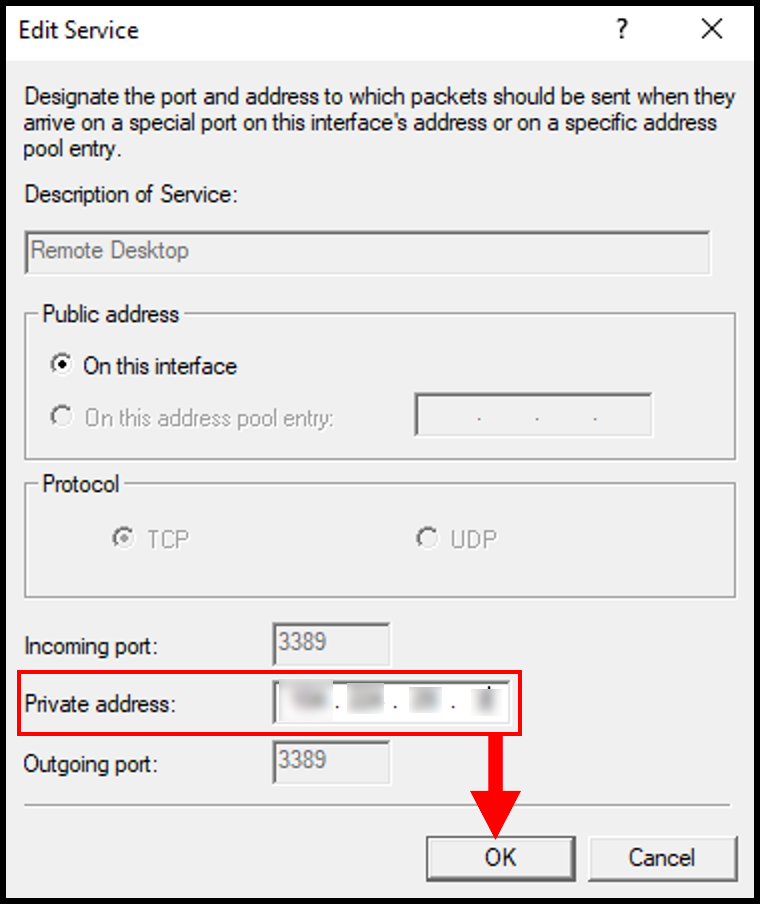
3. In the pop-up window, enter your server’s public IP address in the Private address section. Click OK to continue.
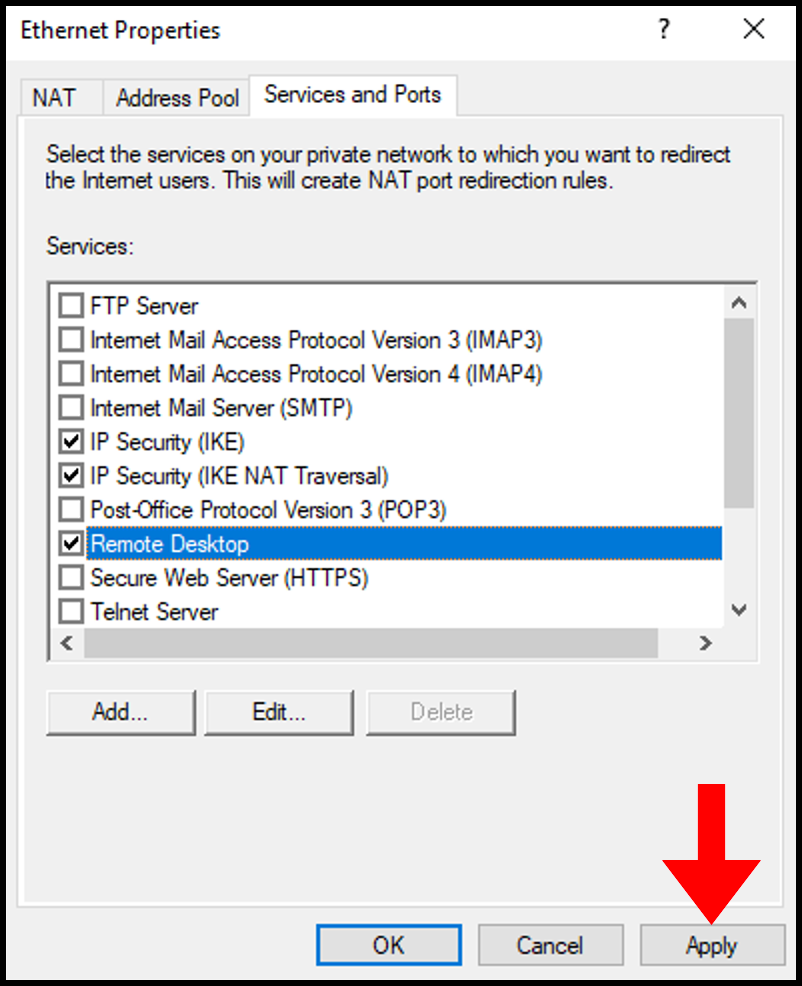
4. Once done, click Apply and OK on the Ethernet Properties screen to save and close the window.
Allow VPN Remote Access to Users
In order to allow other devices to connect to our VPN server we will need to allow Network access permissions for certain users. In this guide, we will be allowing the user Administrator network access.
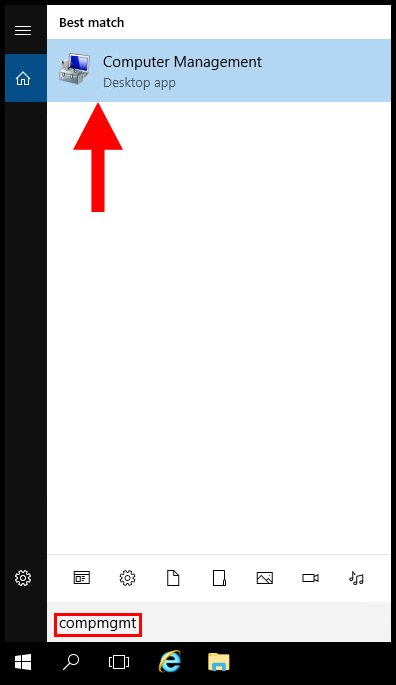
1. First, open Computer Manager by searching in the Windows search function.
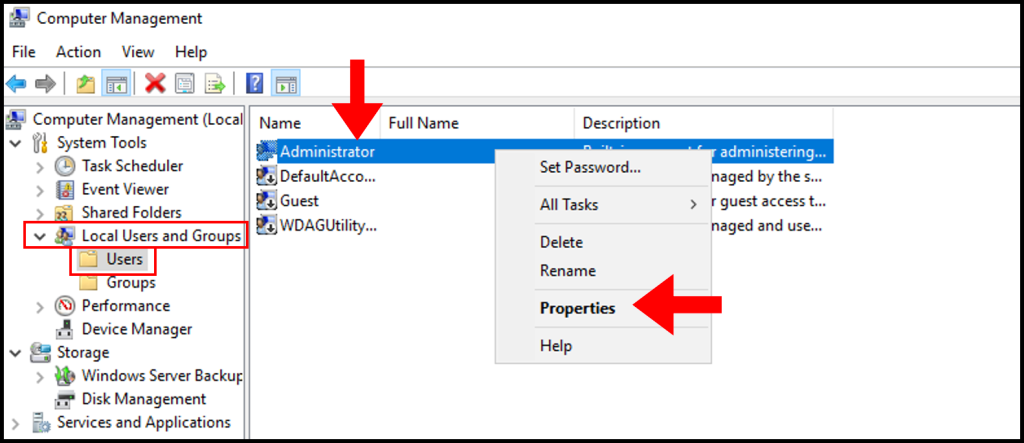
2. In the Computer Management window, expand Local Users and Groups from the left-hand menu, then select Users. In the middle screen, right-click Administrator and click Properties.
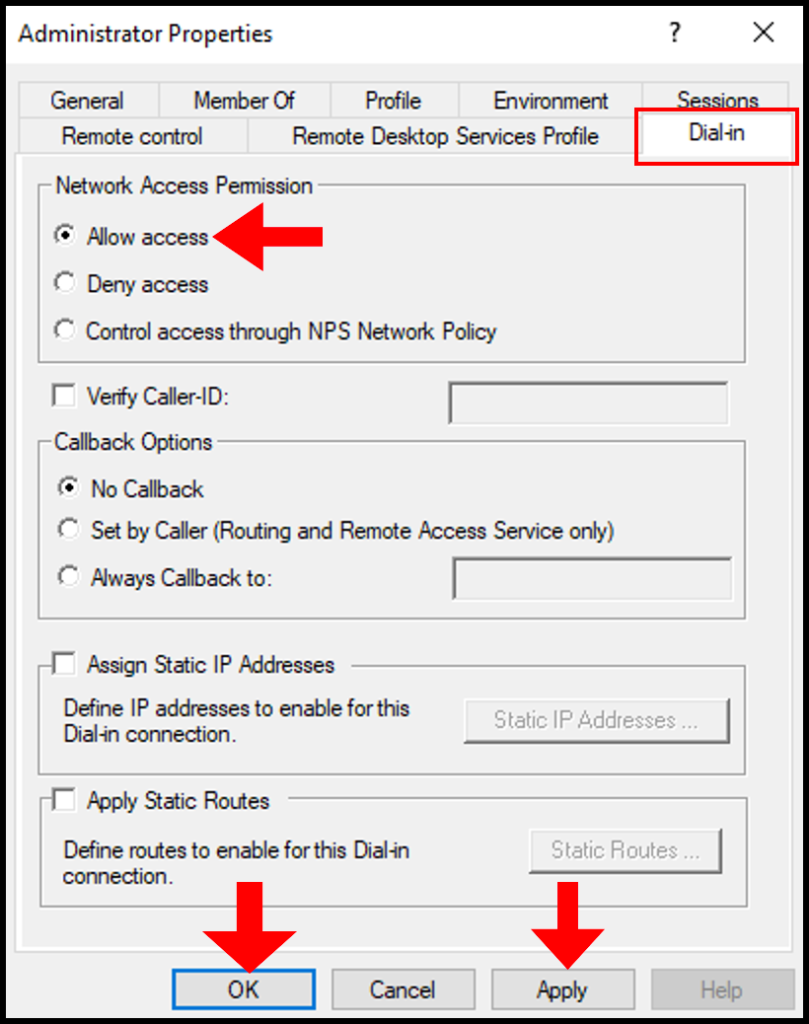
3. In the Administrator Properties window, navigate to the Dial-in tab. Then under Network Access Permission, click Allow access. Now click Apply and OK to save and close the screen.
Allow VPN Ports through Windows Firewall
In this section, we will be going over how to allow VPN through the Windows server firewall. If this is not done, VPN clients will not be able to communicate with the VPN server.
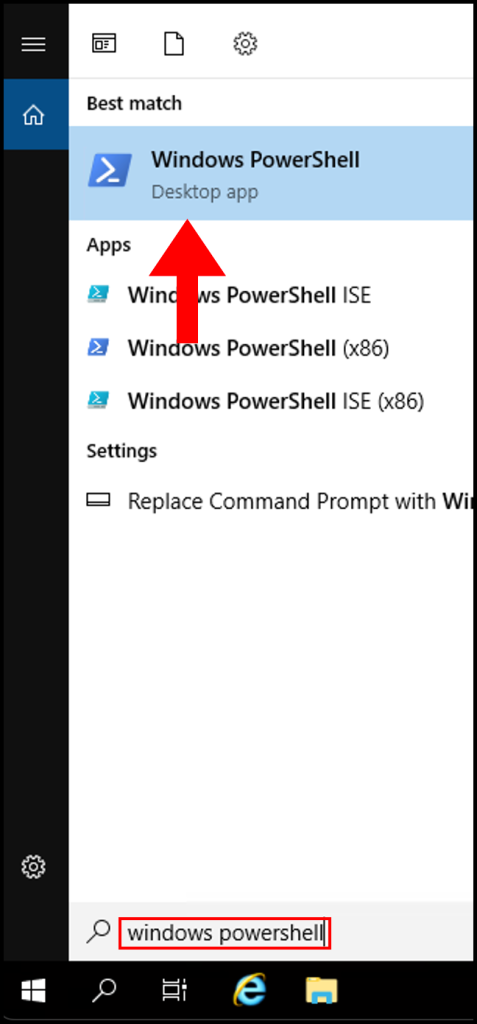
1. First, open Windows PowerShell through the Windows search function.
2. Next, in the PowerShell terminal enter the following command and click your Enter key.
New-NetFirewallRule -DisplayName "VPNTCP" -Direction inbound -Profile Any -Action Allow -LocalPort 1723,1701,443 -Protocol TCP
New-NetFirewallRule -DisplayName "VPNUDP" -Direction inbound -Profile Any -Action Allow -LocalPort 500,4500,50,1701 -Protocol UDP
New-NetFirewallRule -DisplayName "GRE" -Direction inbound -Protocol 47 -Profile Any -Action Allow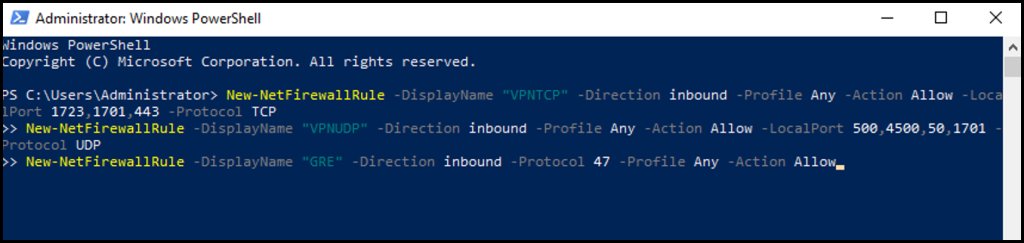
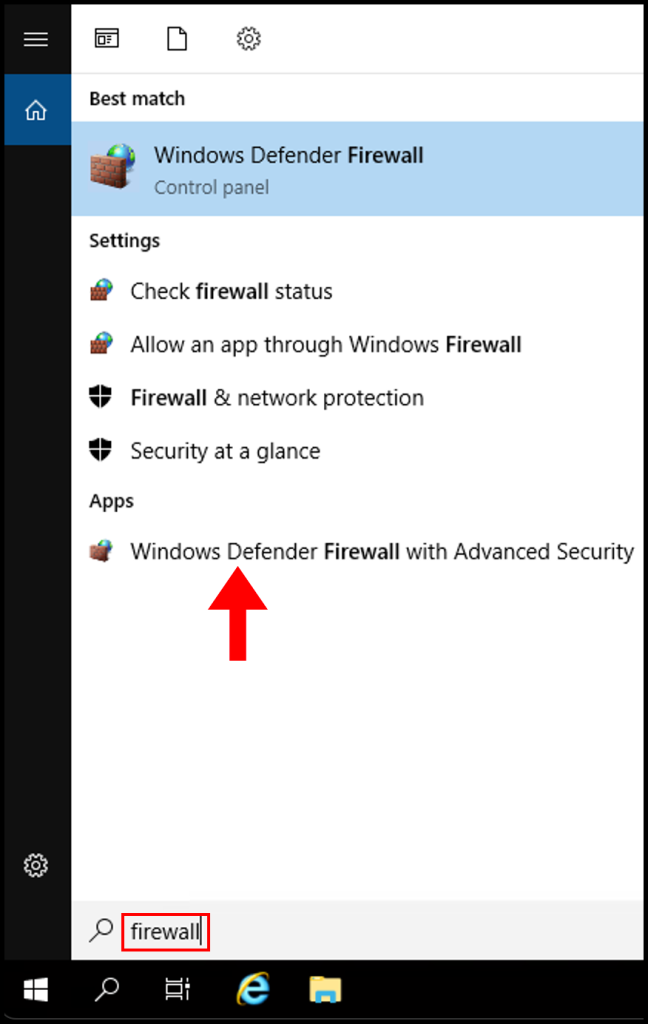
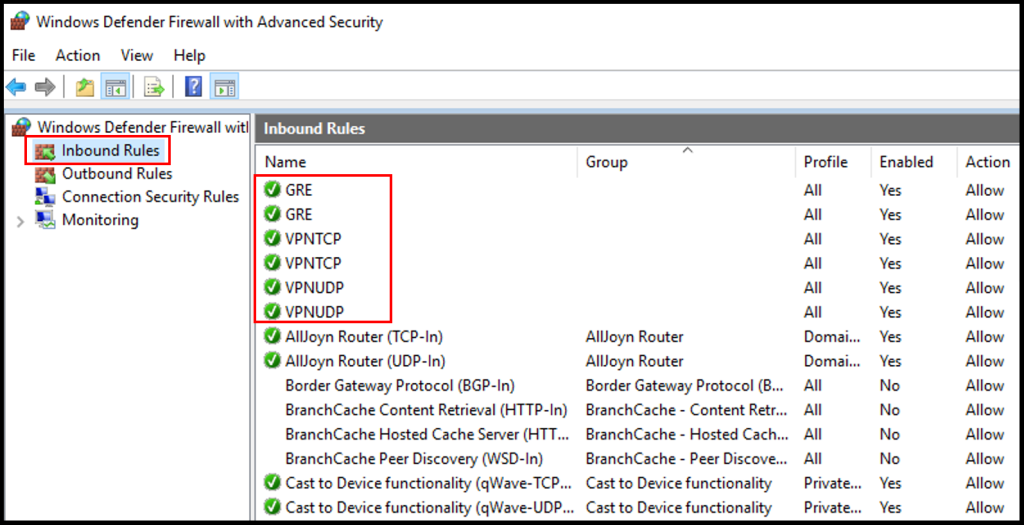
3. To confirm this worked, we can check the Windows Firewall Inbound where we can see the ports are allowed. Search for Firewall in the Windows search function and click Windows Defender Firewall with Advanced Security.
4. Once the Windows Defender Firewall window is open, check that GRE, VPNTCP, and VPNUDP have green check next to them. Now we have successfully completed how to set up PPTP/L2TP VPN on Windows Server.
Connecting to PPTP/L2TP VPN on Windows
In this article, we will go over how to connect to the VPN server on your Windows device and test that the VPN configuration is working.
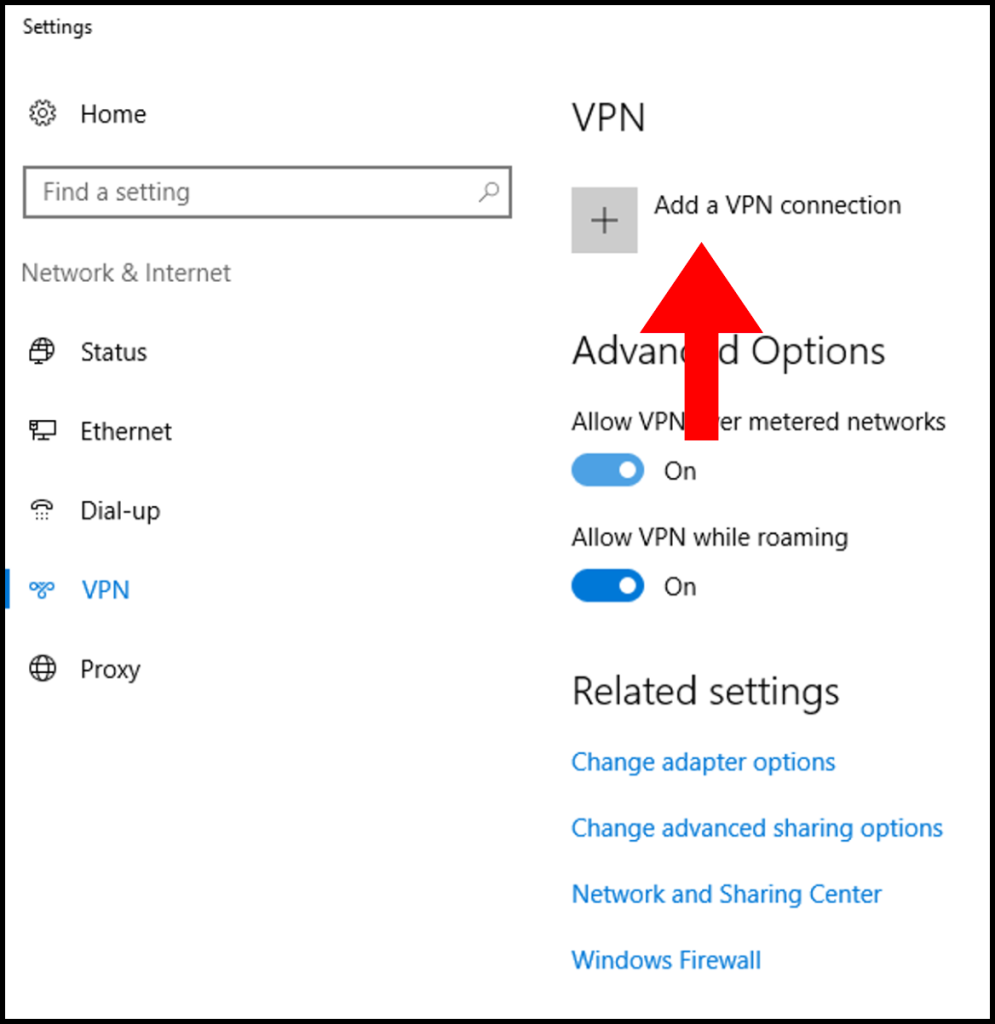
1. On your Windows device, search for VPN in Windows and click Change virtual private networks (VPN).
2. Then in the next window, click the button Add a VPN connection.
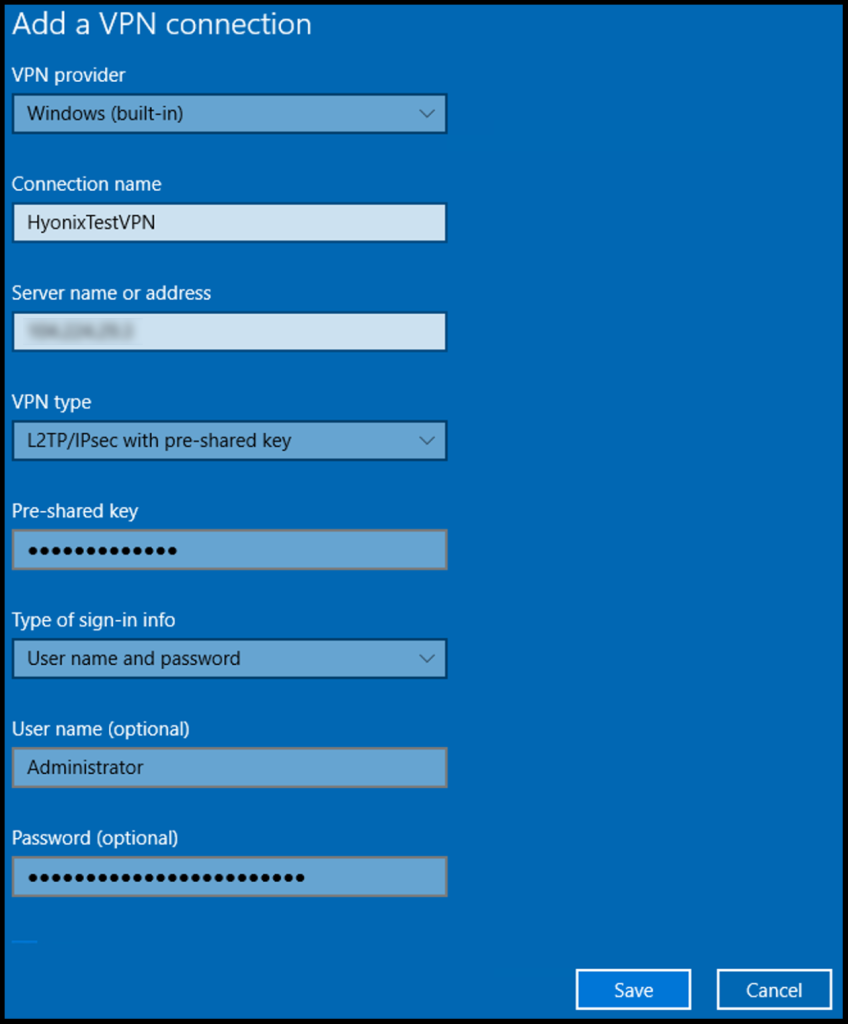
3. In the next screen, fill out the below information as shown below. Once done, click Save.
VPN Provider: Windows (built-in)
Connection Name: Any name you’d like to label it as
Server name or address: The IP Address of the VPN server
VPN Type: L2TP/IPsec with pre-shared key
Pre-shared key: Enter the pre-shared key we defined in an earlier section
Type of sign-in info: User name and password
User name (Optional): Login username of the VPN server
Password (Optional): Password of the VPN server
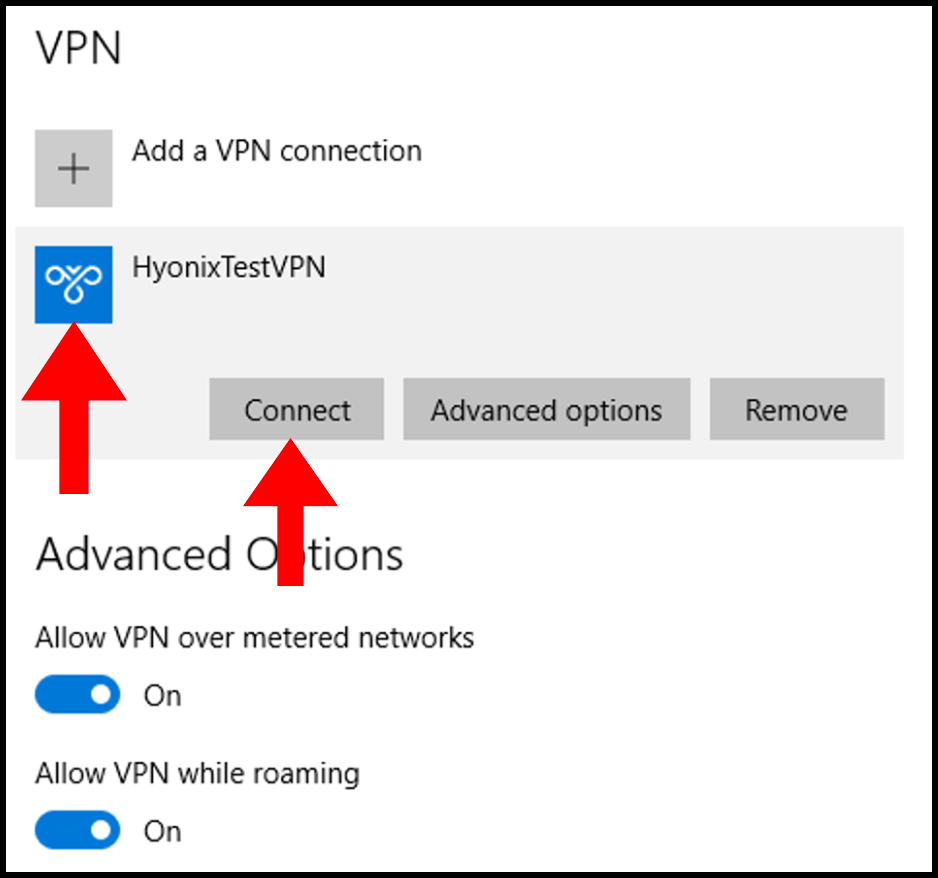
4. Next, click the VPN that we have added and then click Connect to connect to the VPN.
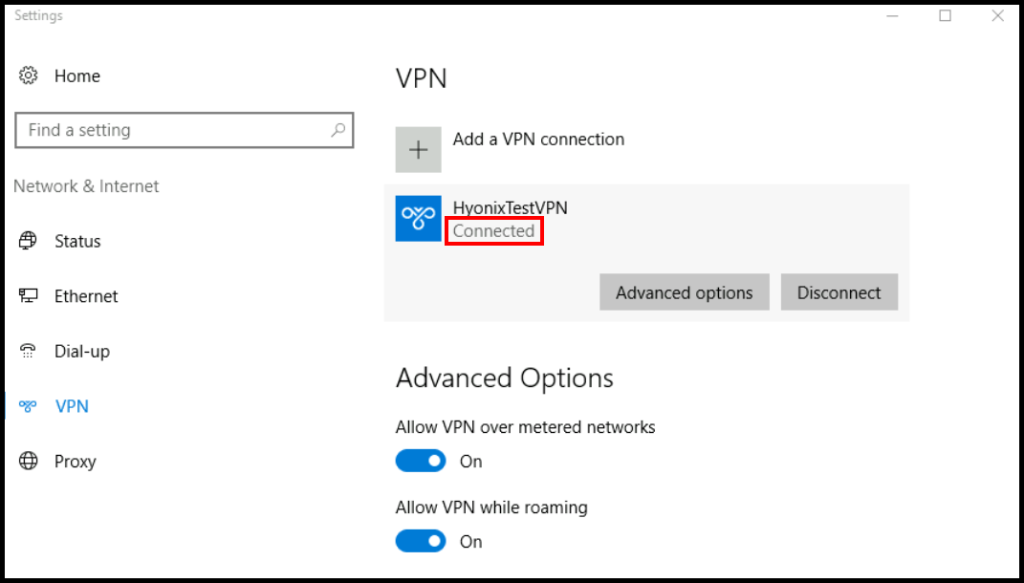
5. Finally, you will be able to see that we are connected to the VPN when it says Connected under the VPN name as seen below.
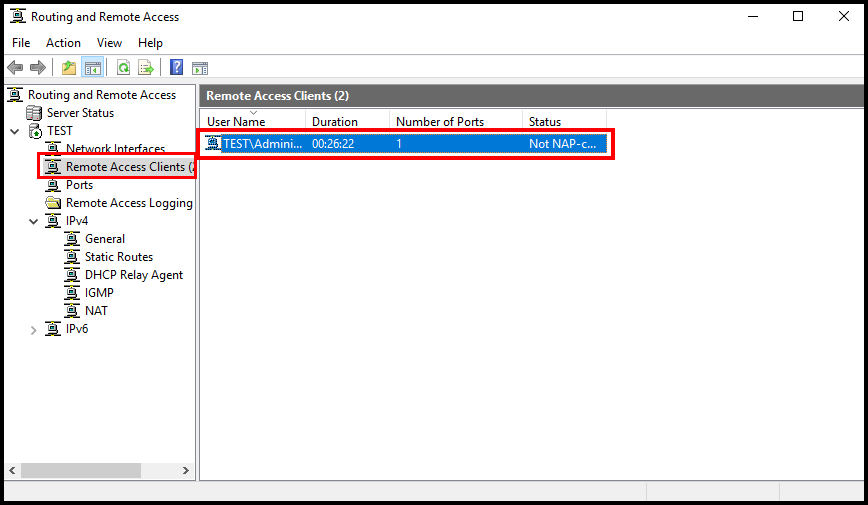
6a. One way to verify that you have successfully connected to the VPN server is by connecting to the VPN server and opening the Routing and Remote Access window and selecting Remote Access Clients. You will then see a connected client to the VPN server.
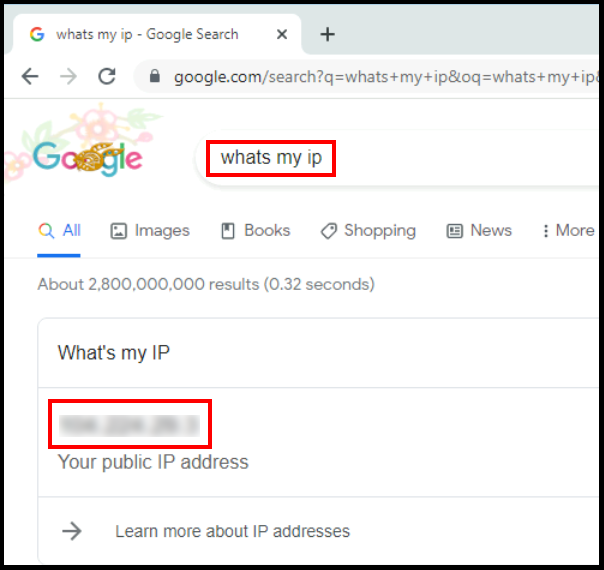
6b. Another way to verify the VPN connection is by checking the IPv4 address on the client device. You can do this by going on your browser and looking up whats my ip? and the IP that is shown should be the VPN server’s IP address.
Connecting to PPTP/L2TP VPN on macOS
In this article, we will go over how to connect to the VPN server on your macOS device and test that the VPN configuration is working.
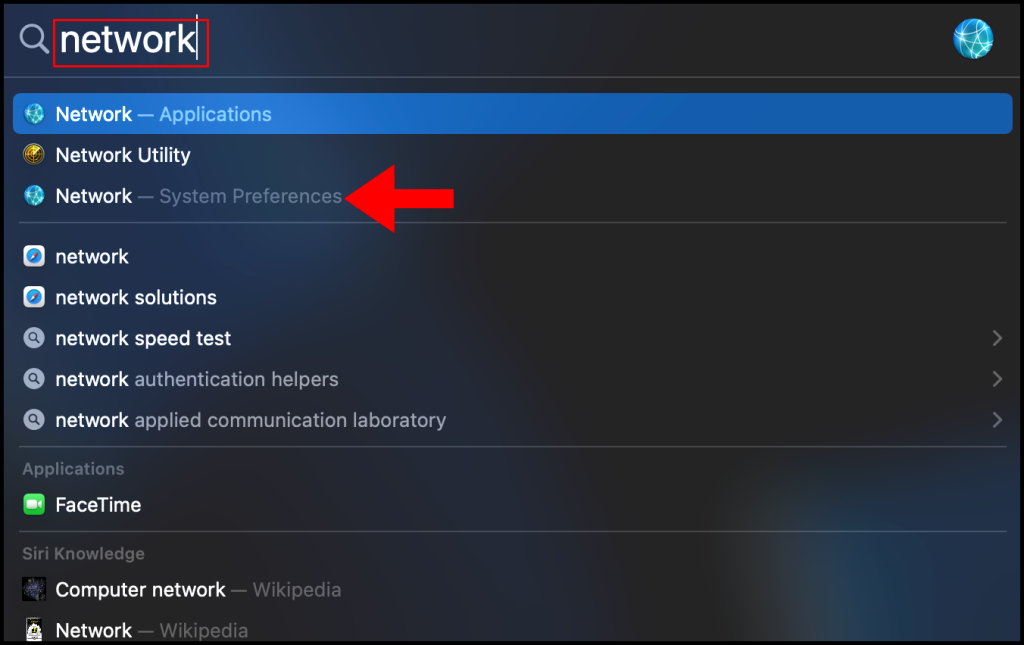
1. To start, use the finder feature (cmd + space-bar) to search and open Network – System Preferences.
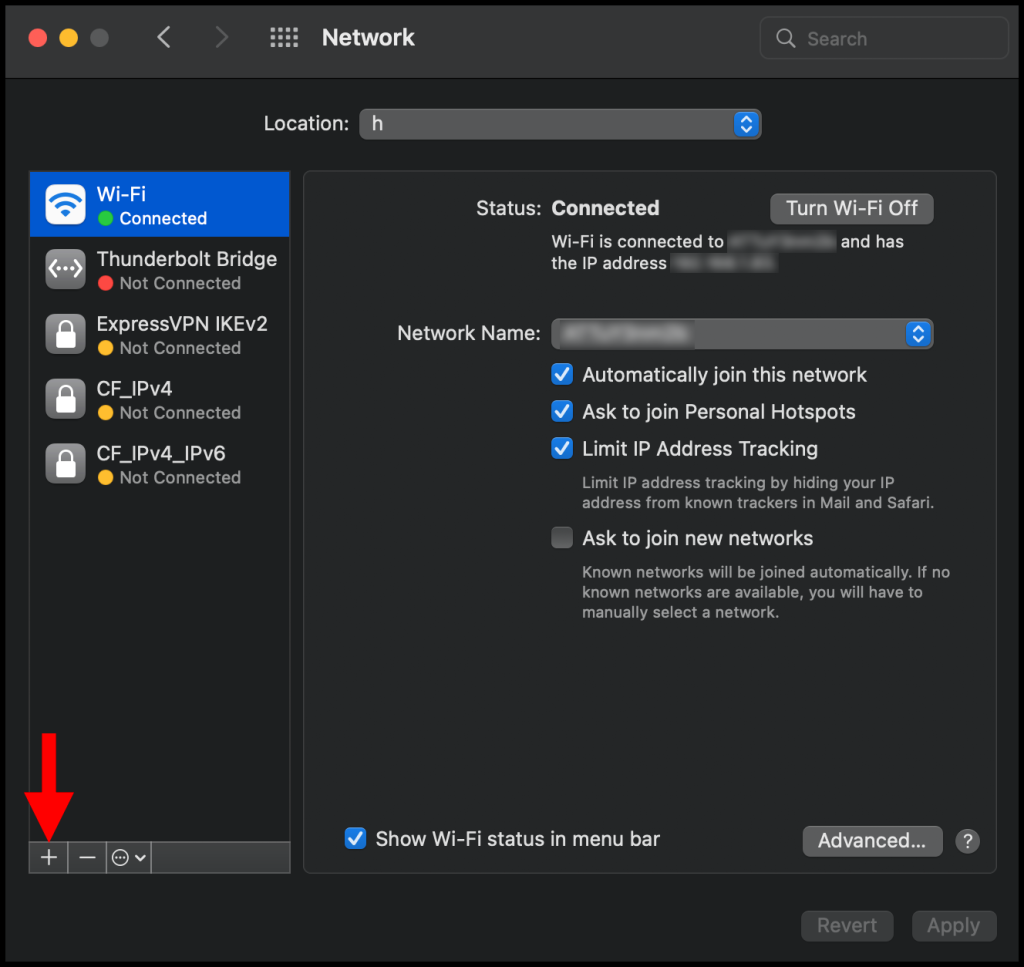
2. In the Network window, click the + button on the bottom left corner as seen below.
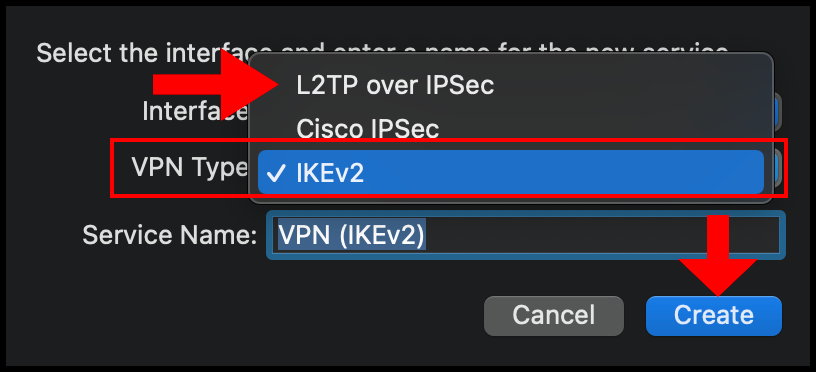
3. In the pop-up, click the drop-down next to Interface and select VPN from the menu.

4. Then select the drop-down for VPN Type and select L2TP over IPSec. Optionally, you can also enter a custom Service Name. Click Create to move on.
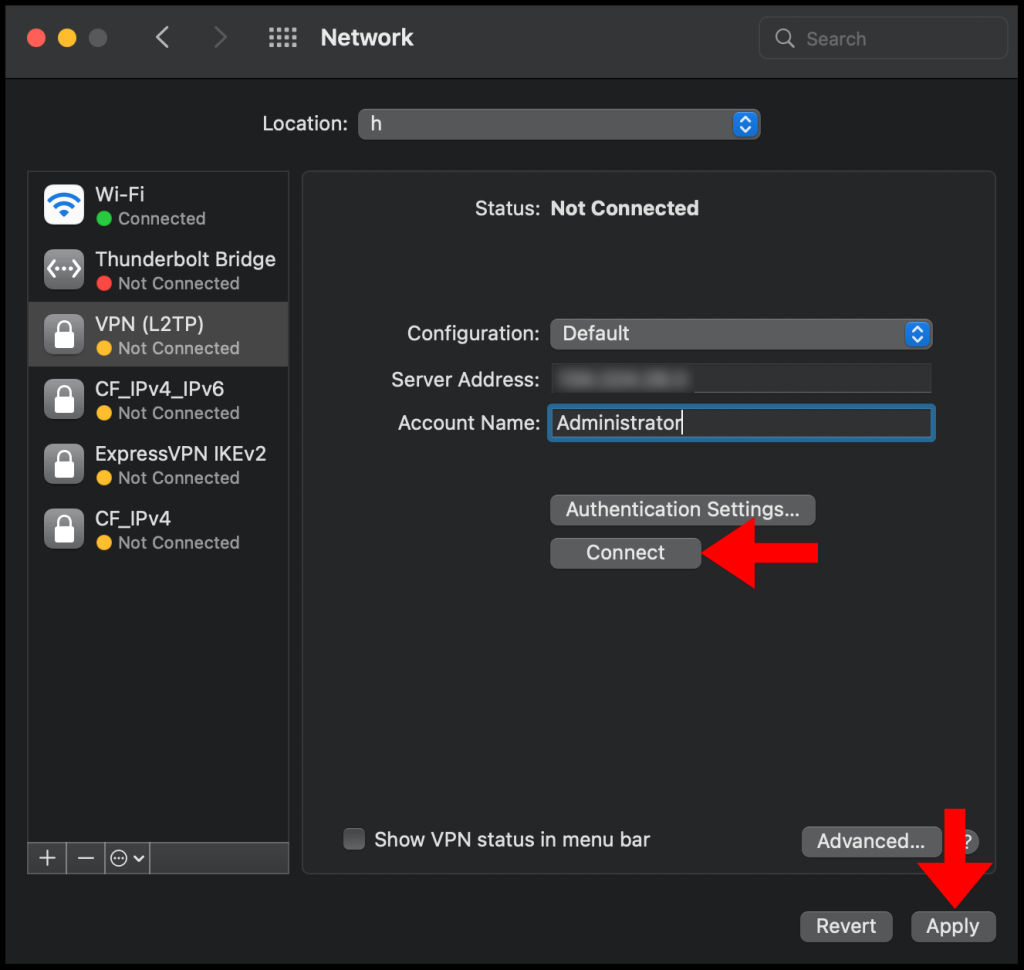
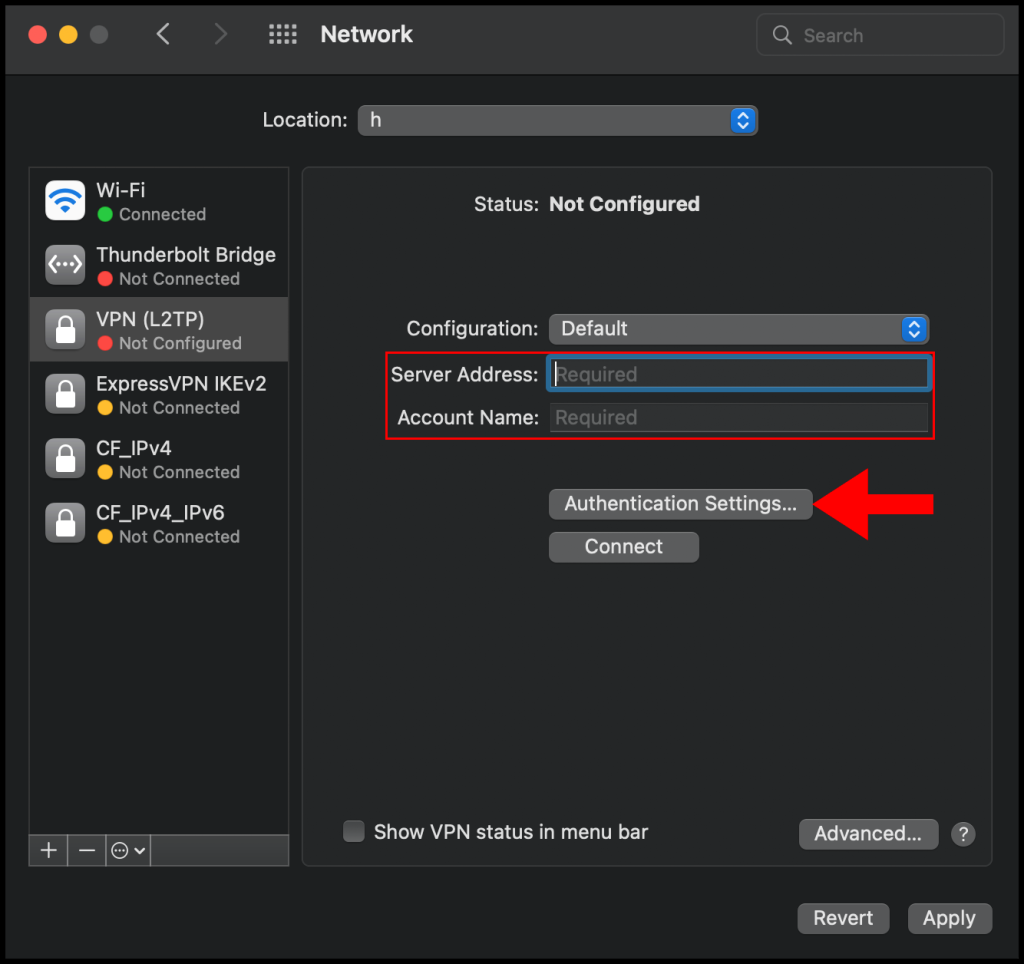
5. Then in the next configuration window, enter the VPN server’s IP address in the Server Address text field and enter the username you use to log in to the VPN server in the Account Name text field. Once you’re done click Authentication Settings to continue the setup.
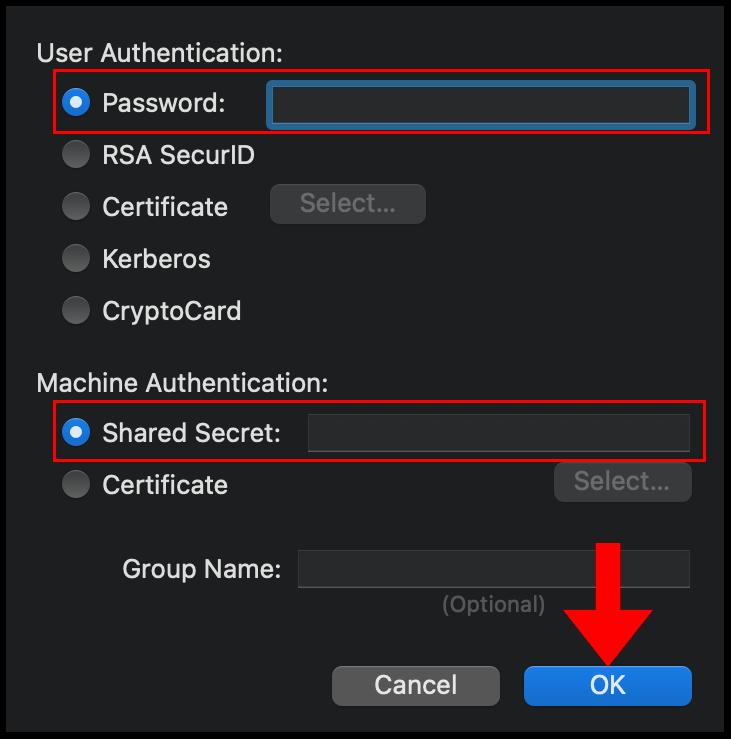
6. In the Authentication Settings menu, select Password for User Authentication and then enter the password you use to log in to the VPN server, select Shared Secret under Machine Authentication and enter the pre-shared secret key you set on your VPN server in the earlier sections. Click OK to finish configuring the Authentication Settings.
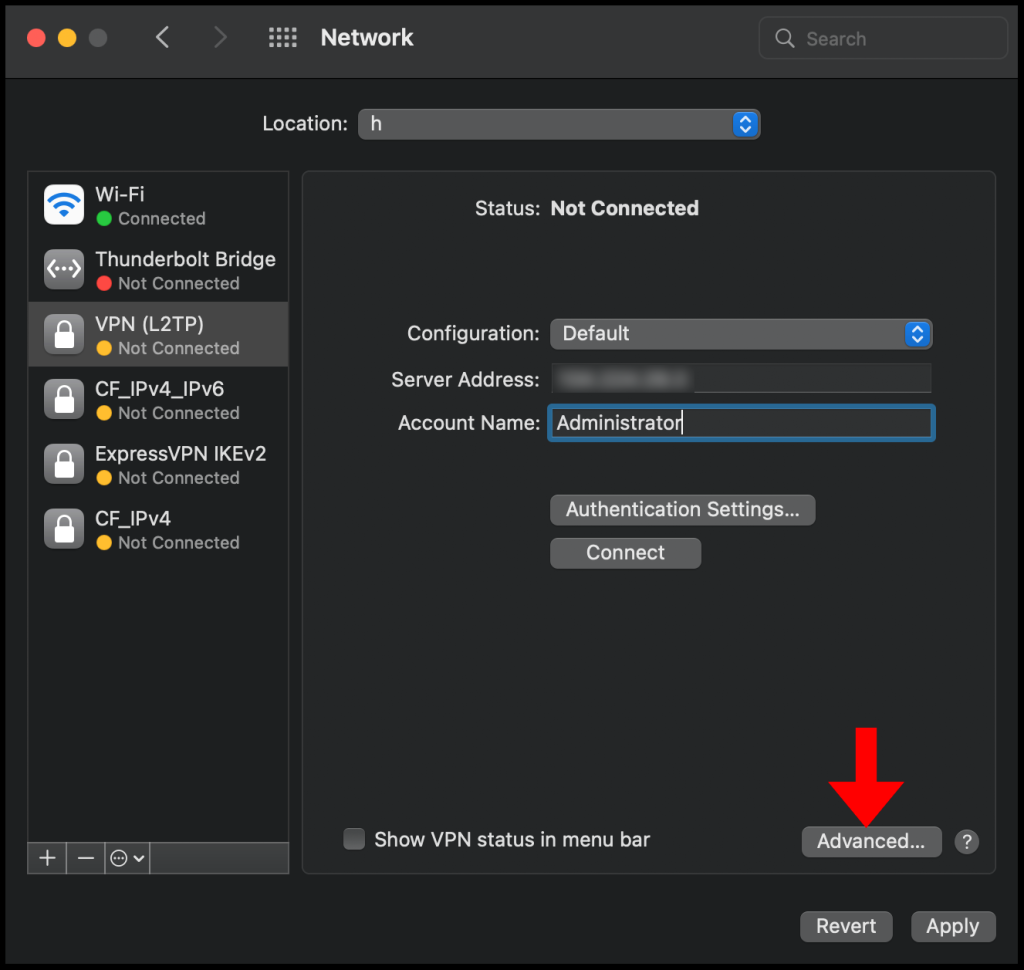
7. Now click Advanced to go to the advanced network settings.
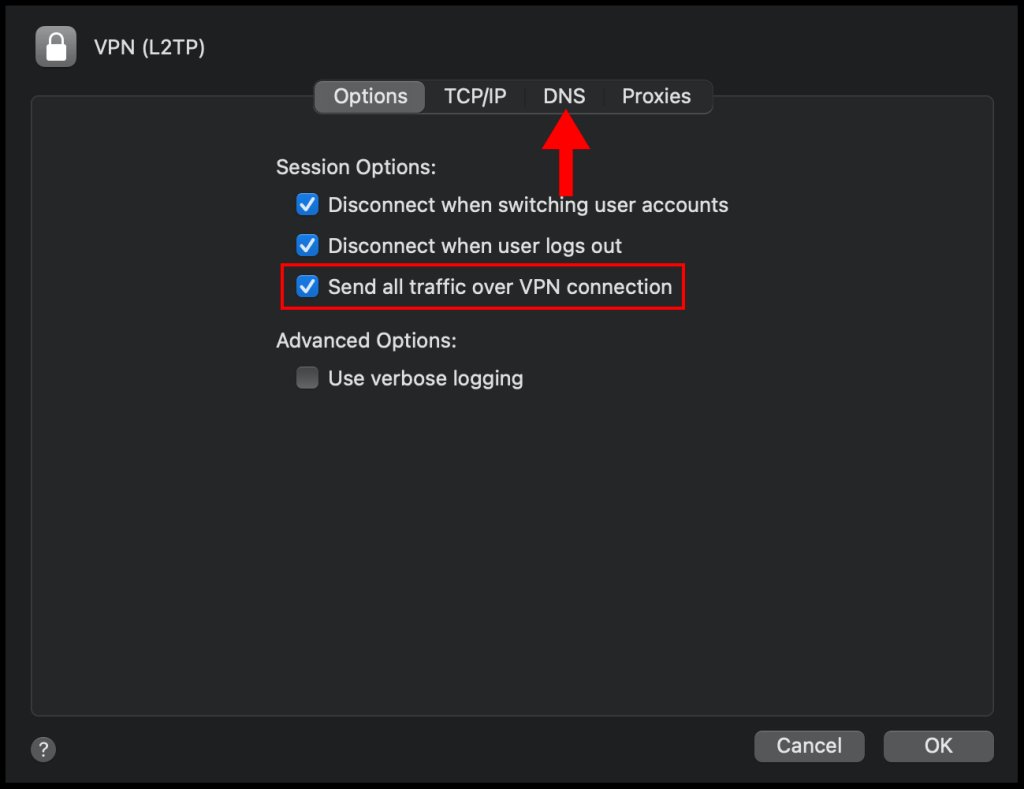
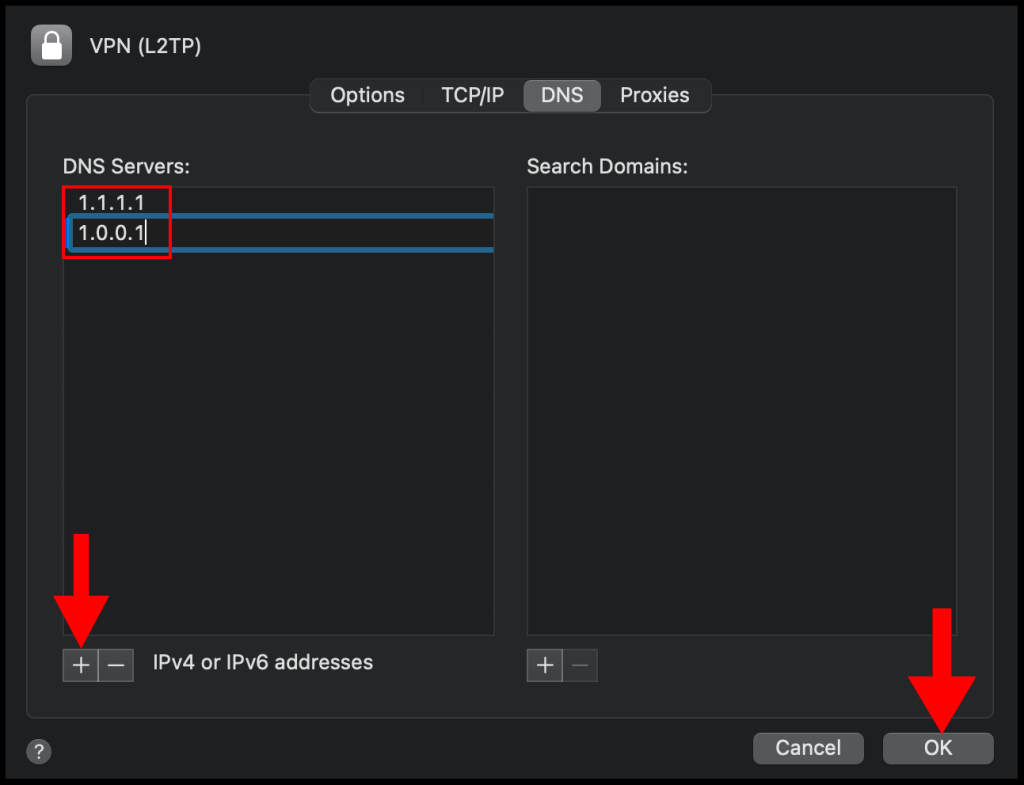
8. In the Advanced window, check the box next to Send all traffic over VPN connection and then navigate to the DNS tab.
9. On the DNS section, click the + button on the left-hand corner and add the following DNS servers 1.1.1.1 and 1.0.0.1, then click OK to close out of the window.
10. Lastly, click Apply and then click Connect to connect to your VPN. We have successfully set up and connected to the VPN on a macOS device.